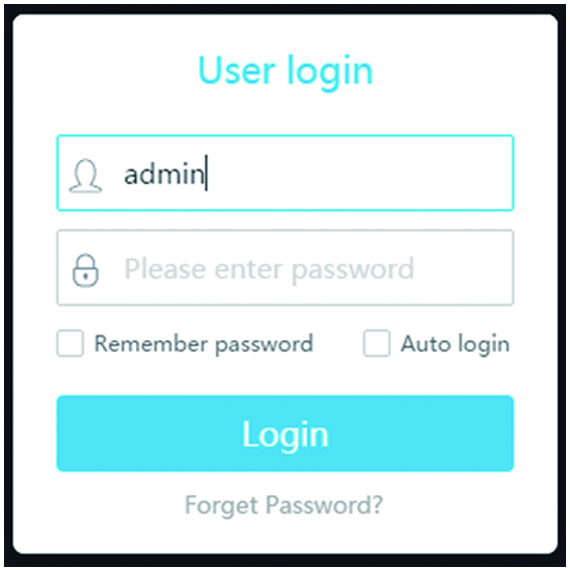
2. How to Log in the EseeCloud CMS on your PC?
1. Use a registered APP account to log in to CMS.
You can skip the step of adding NVR to CMS. The camera system that has been added to the APP will be synchronized with CMS.
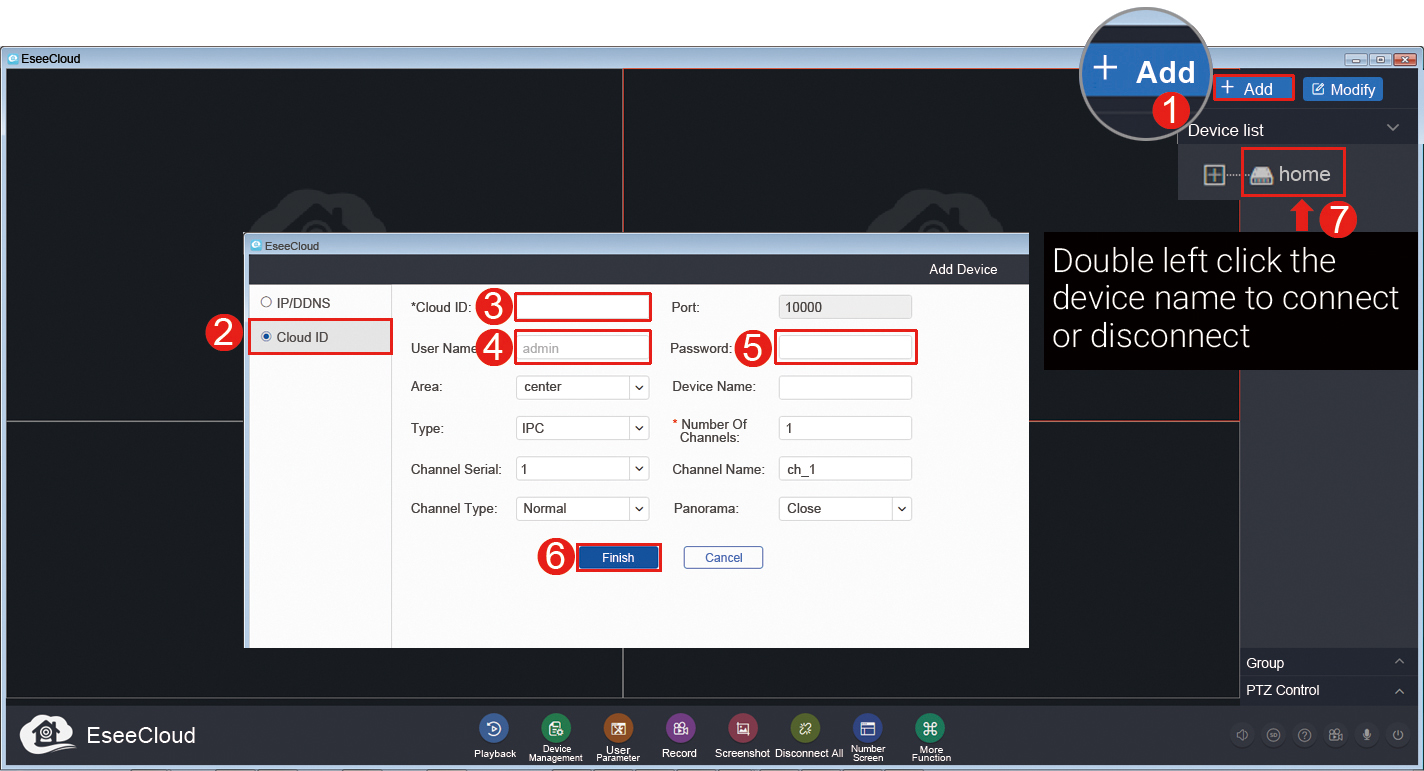
2. Add NVR device to CMS
Enter the CMS main interface, after completing the steps to add NVR to CMS, you can view video on CMS.
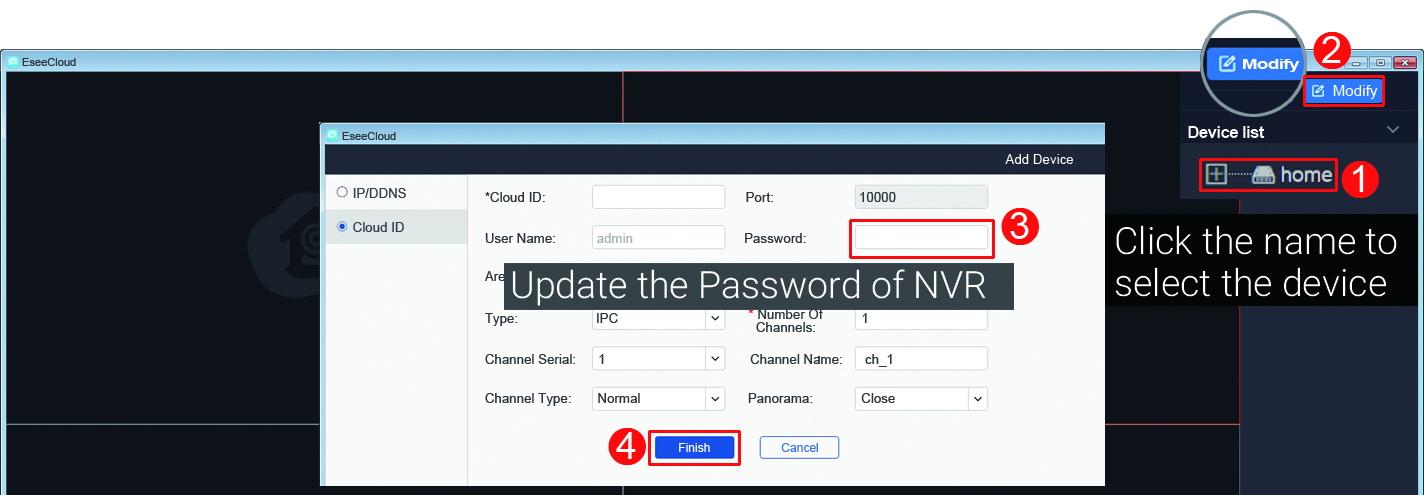
1. Click "+add"
2. Click Cloud ID
3. Input your Cloud ID of the NVR
4. Input your Username(default is admin)
5. Input your Password
6. Click Finish
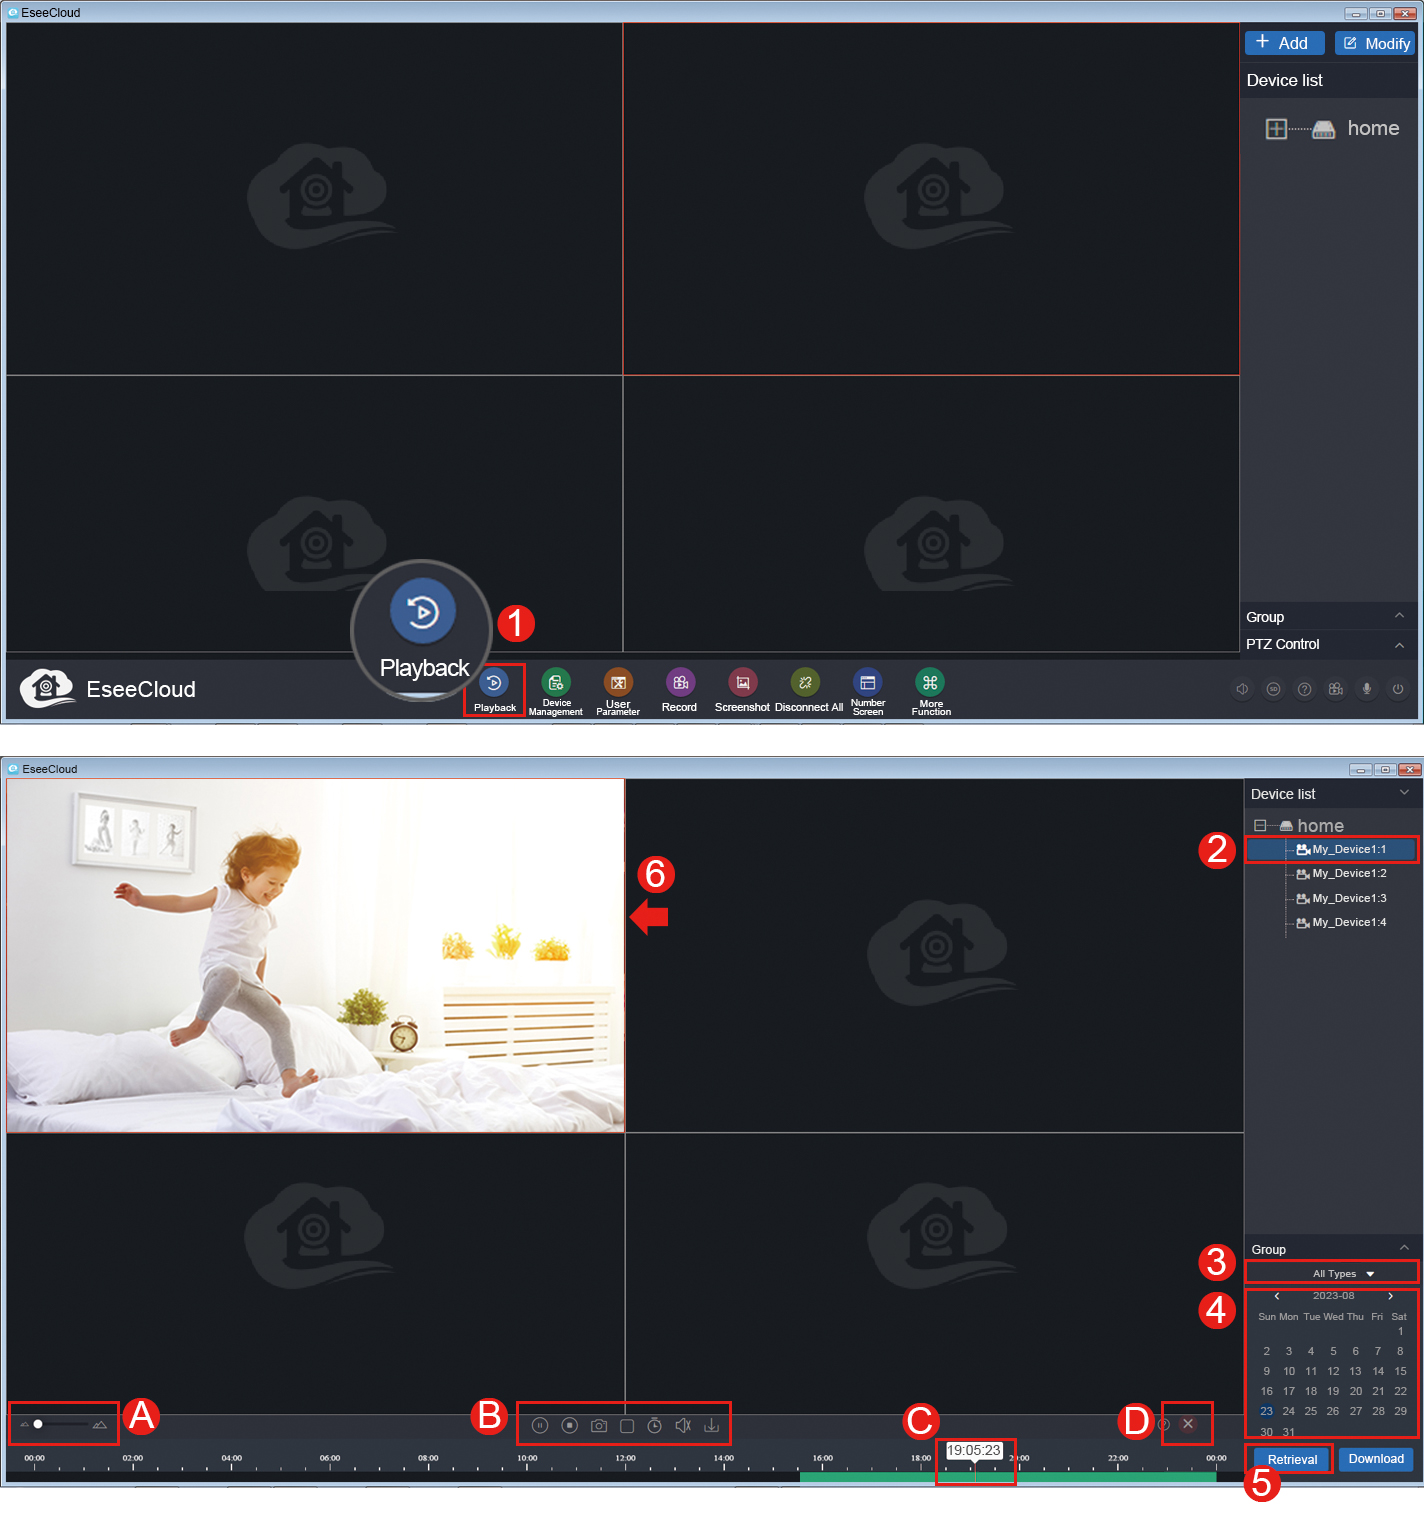
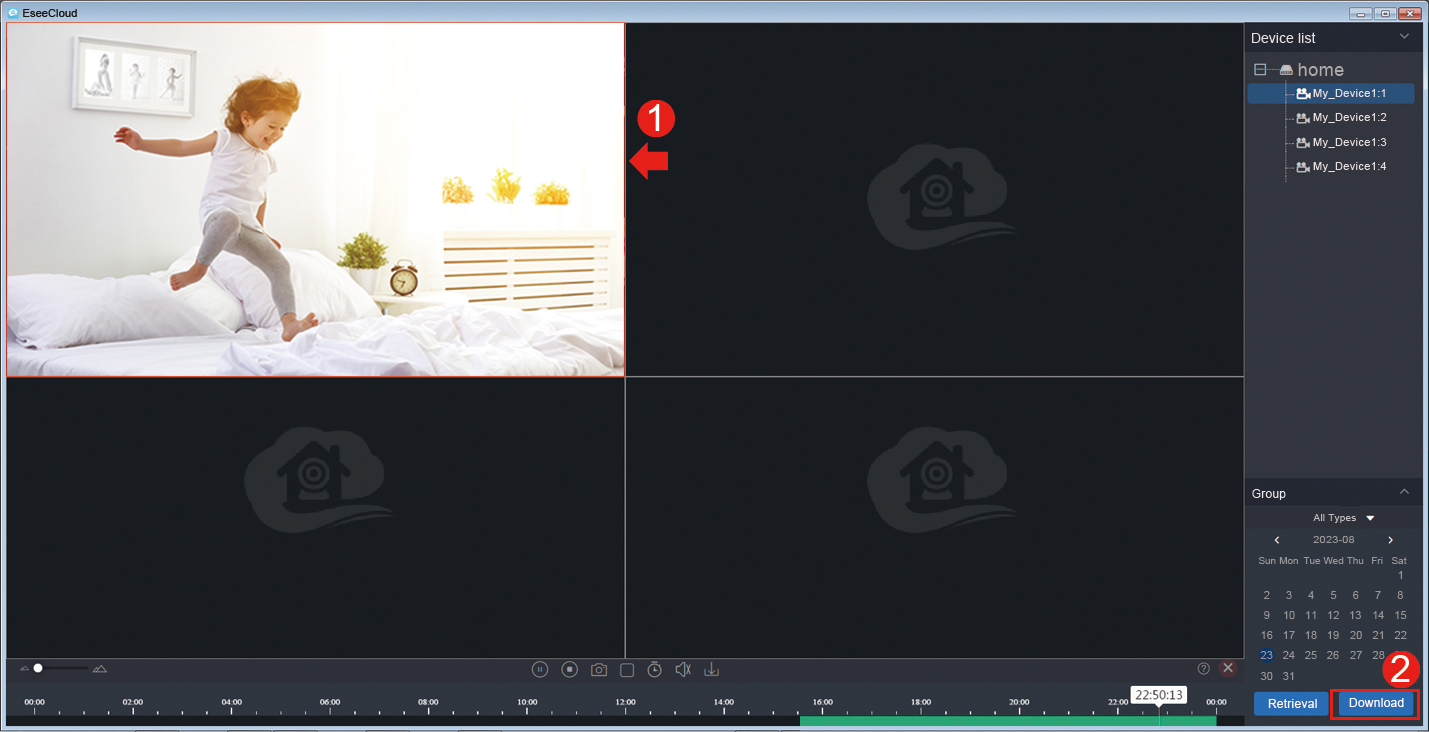
7. Double left click the device name to connect or disconnect
TIPS:
1. Input the Username and Password of the NVR. Default Username is admin.
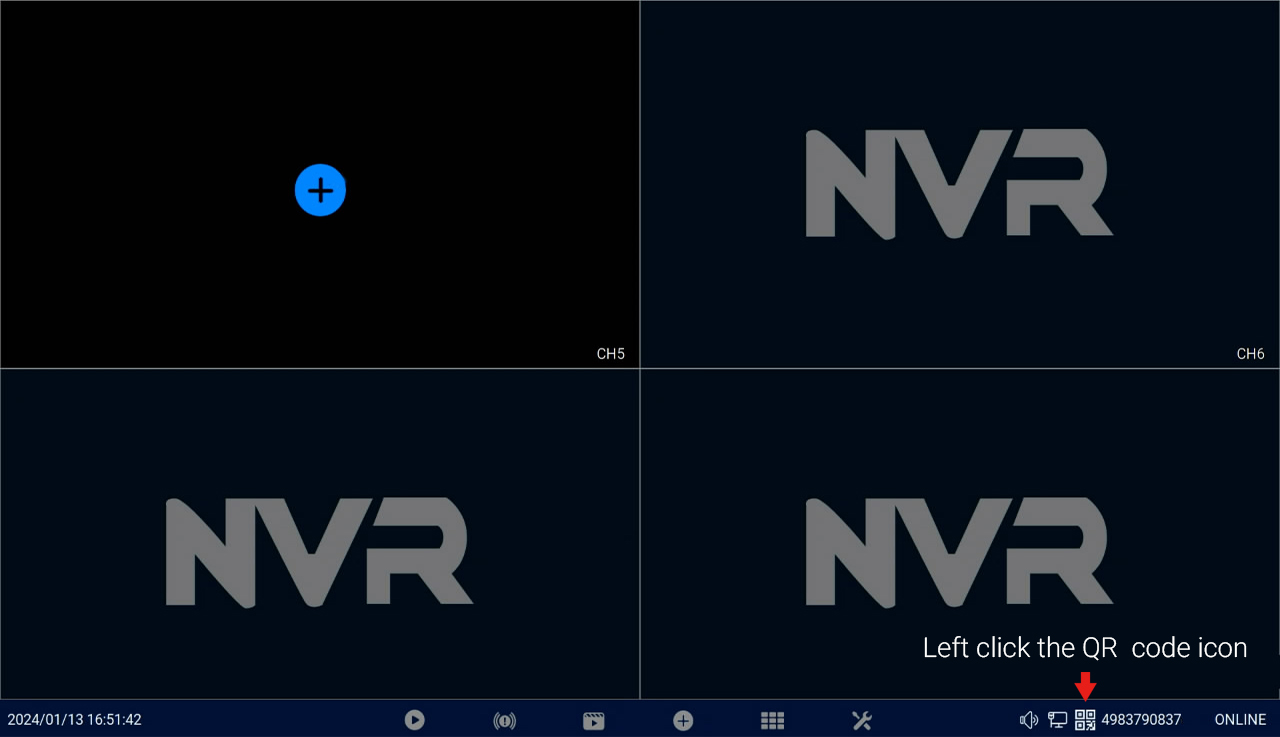
2. Find your NVR Could ID or QR-Code in NVR.
NVR User interface B:
The Cloud ID is displayed in the bottom right corner of the screen, left click the ID to enter Download
APP interface, then you can see the ID QR code.
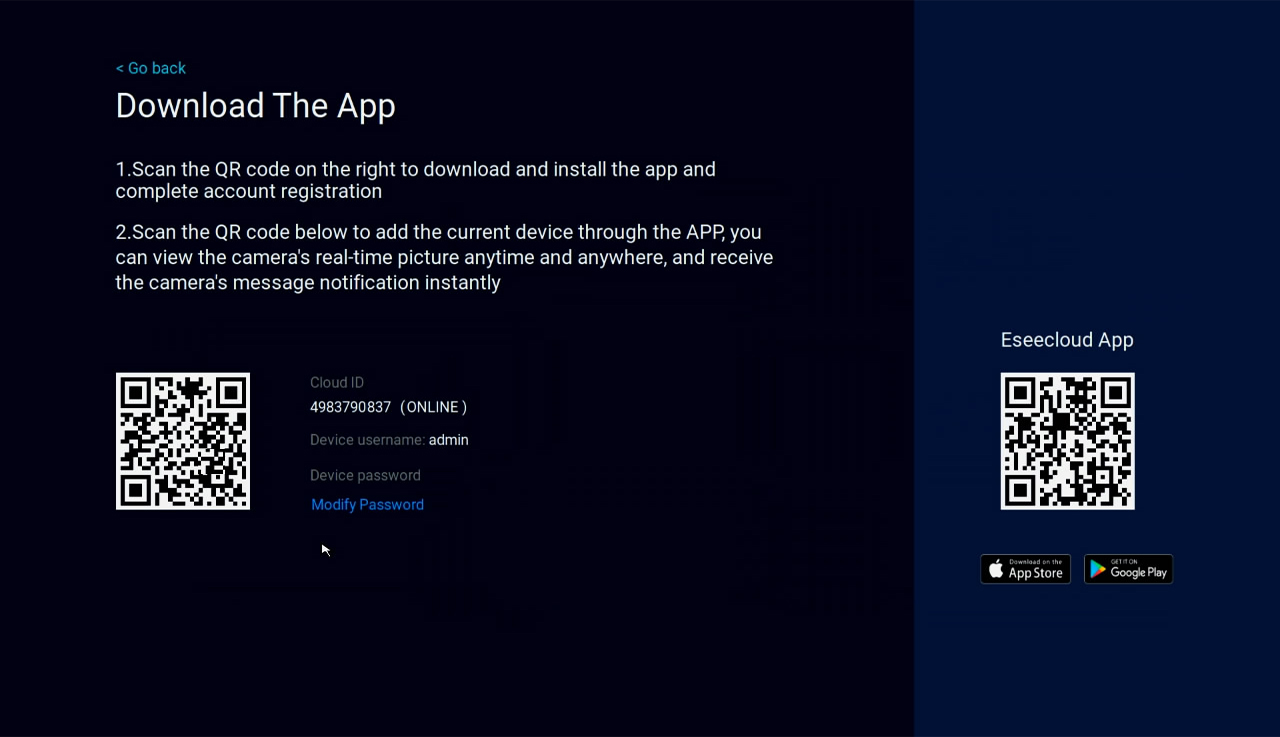
NVR User interface A:
Left click the mouse on the NVR screen → System Setup → Network Setup.


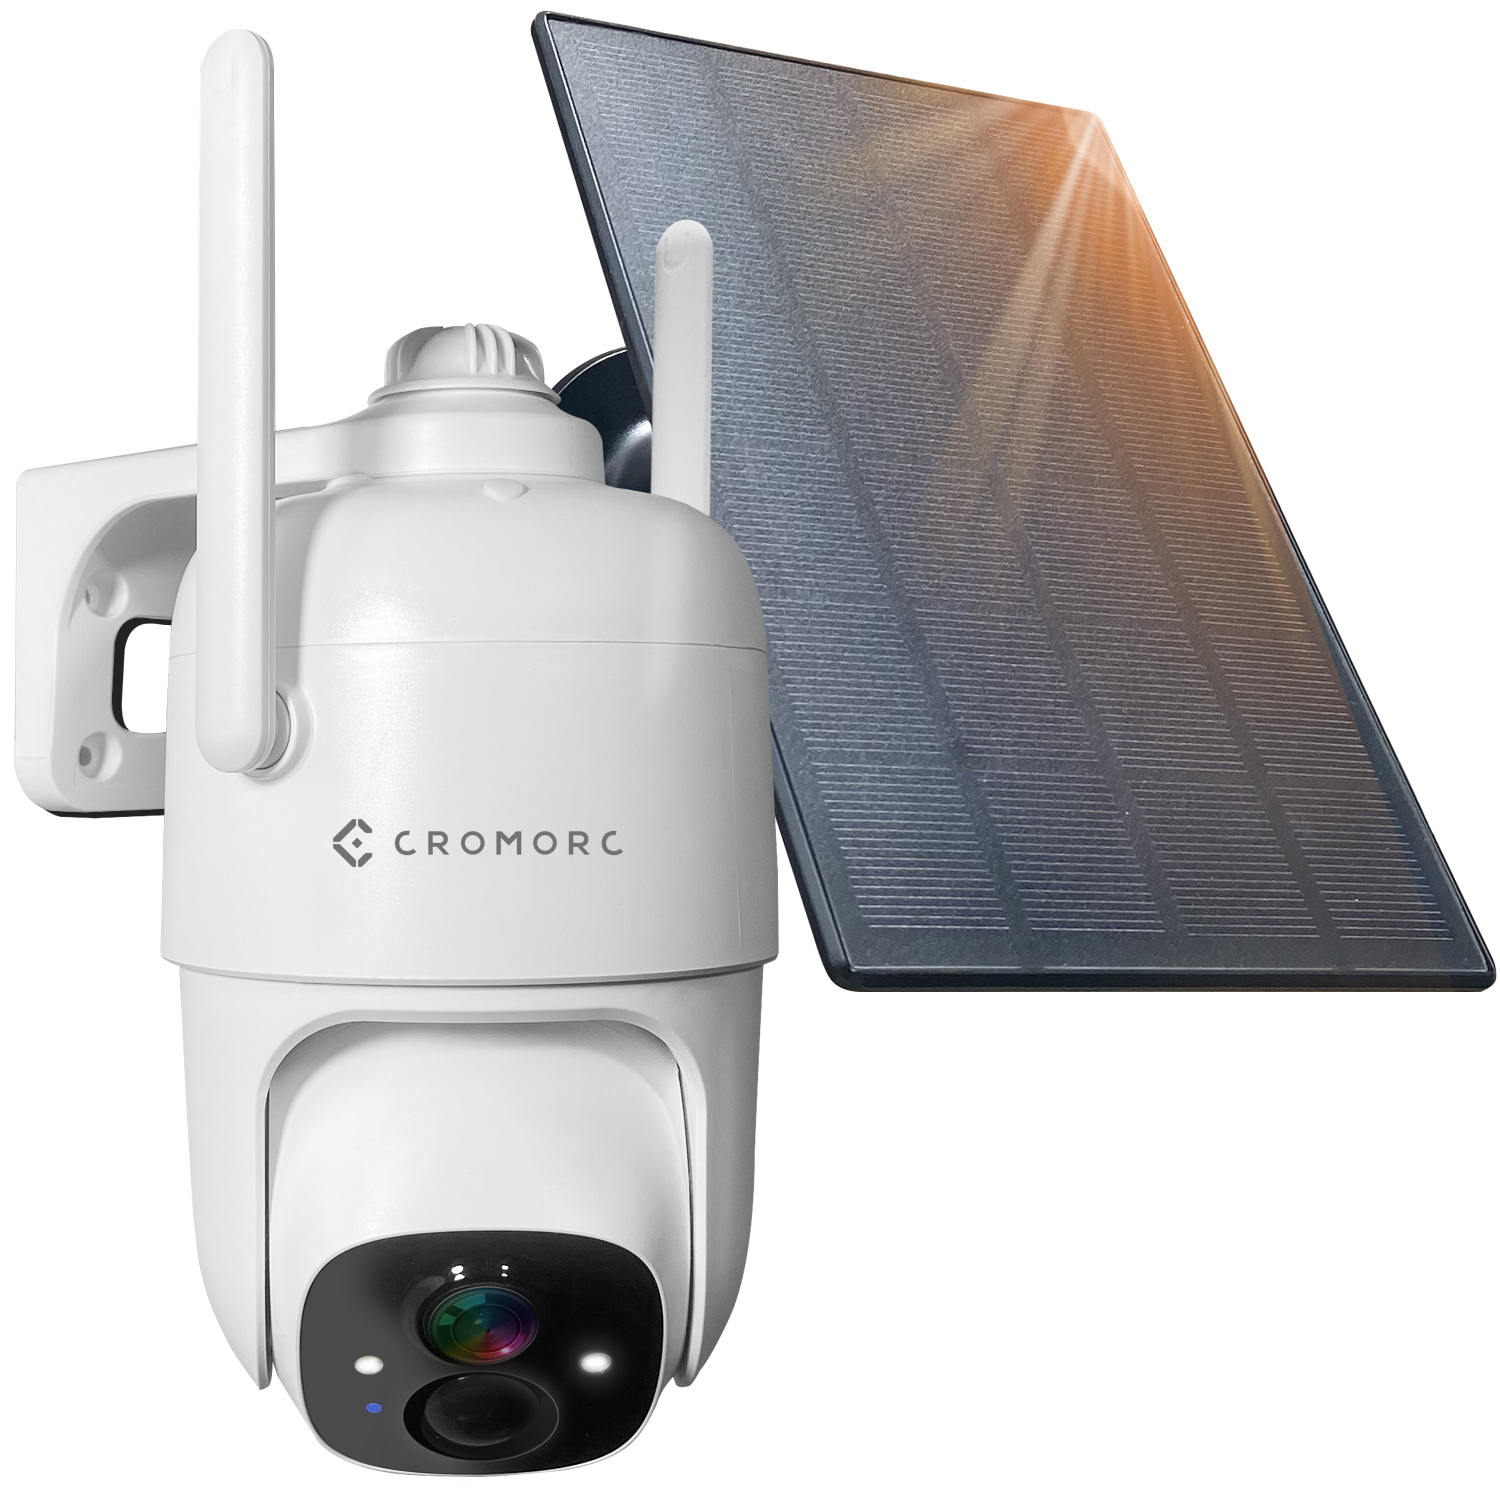
![[10CH,Expandable] All in one with 10.1](/uploads/image/3E2-2-01.jpg) [10CH,Expandable] All in one with 10.1
[10CH,Expandable] All in one with 10.1
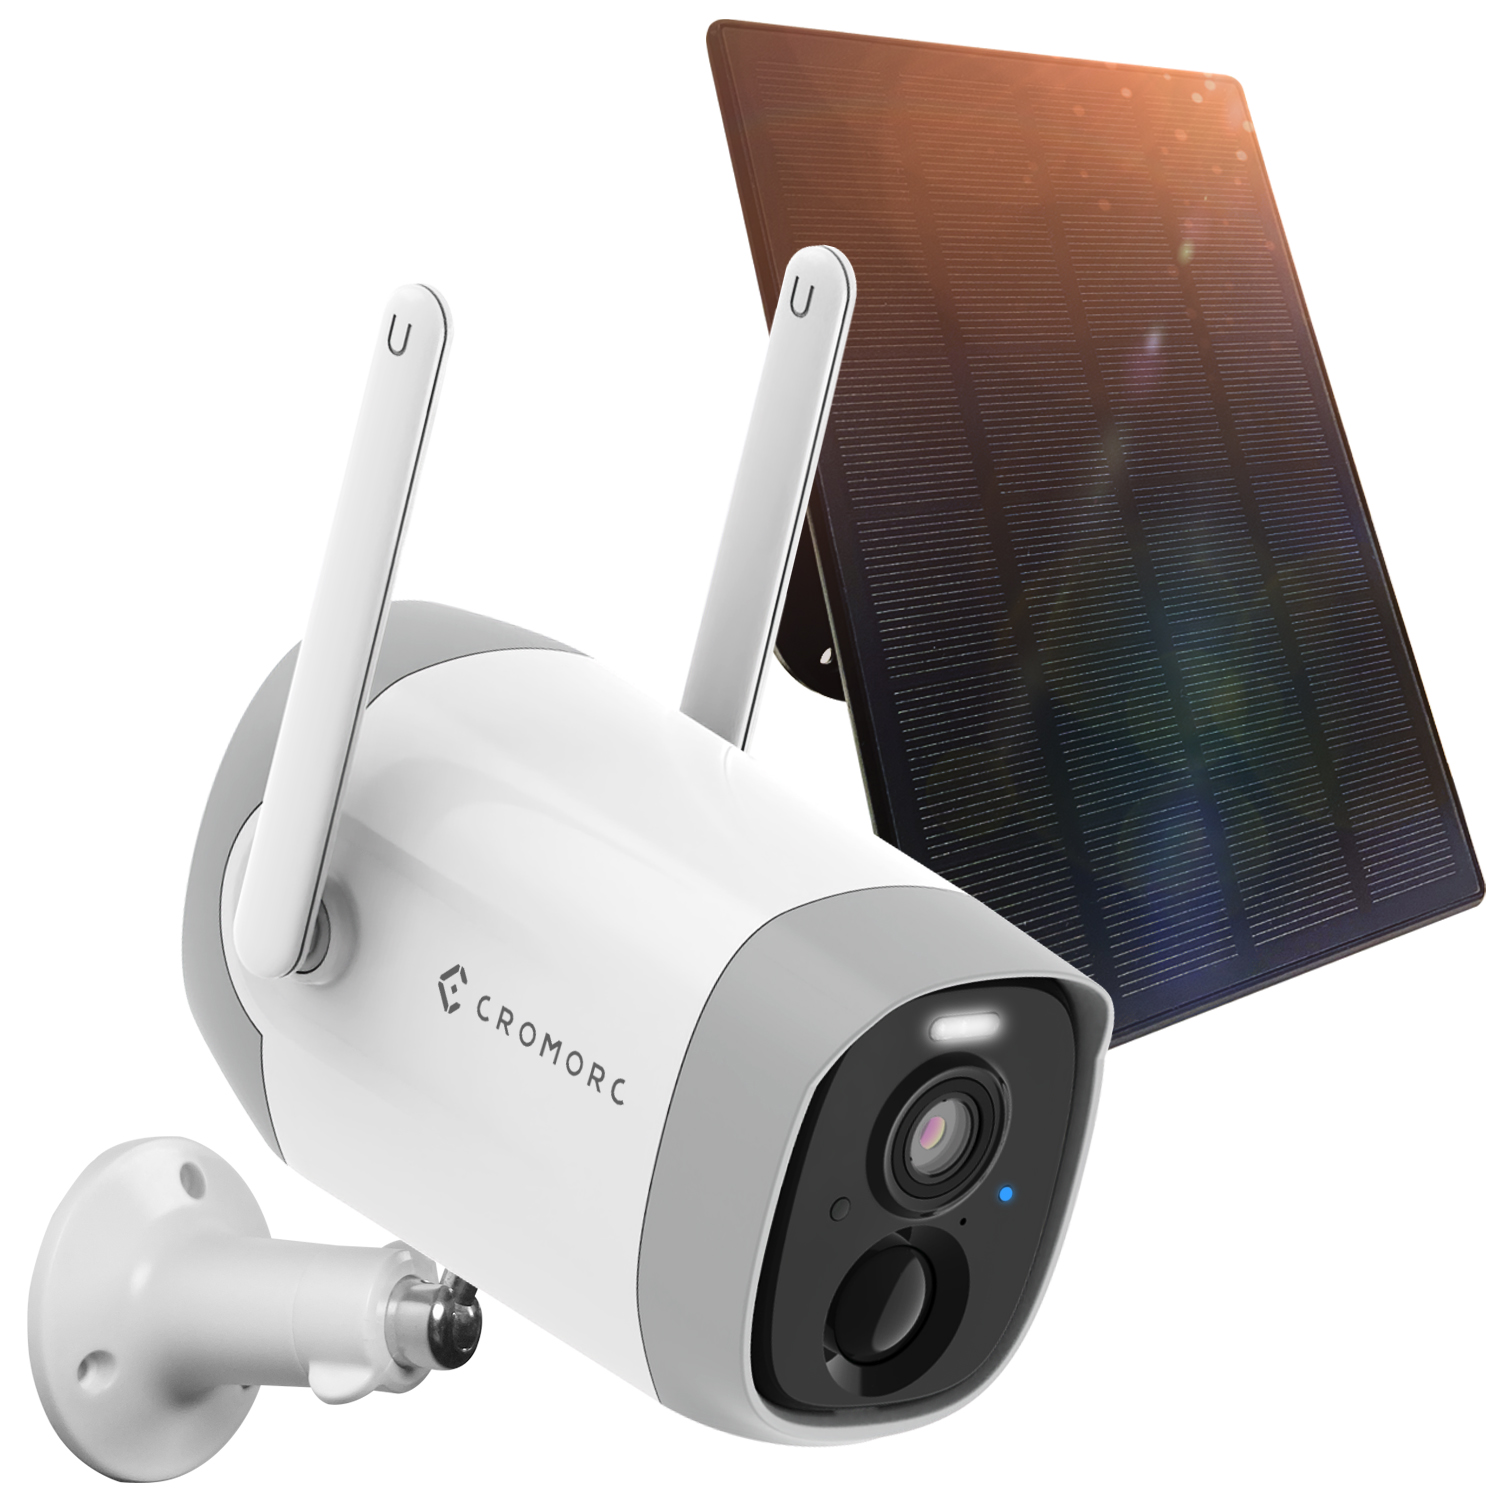
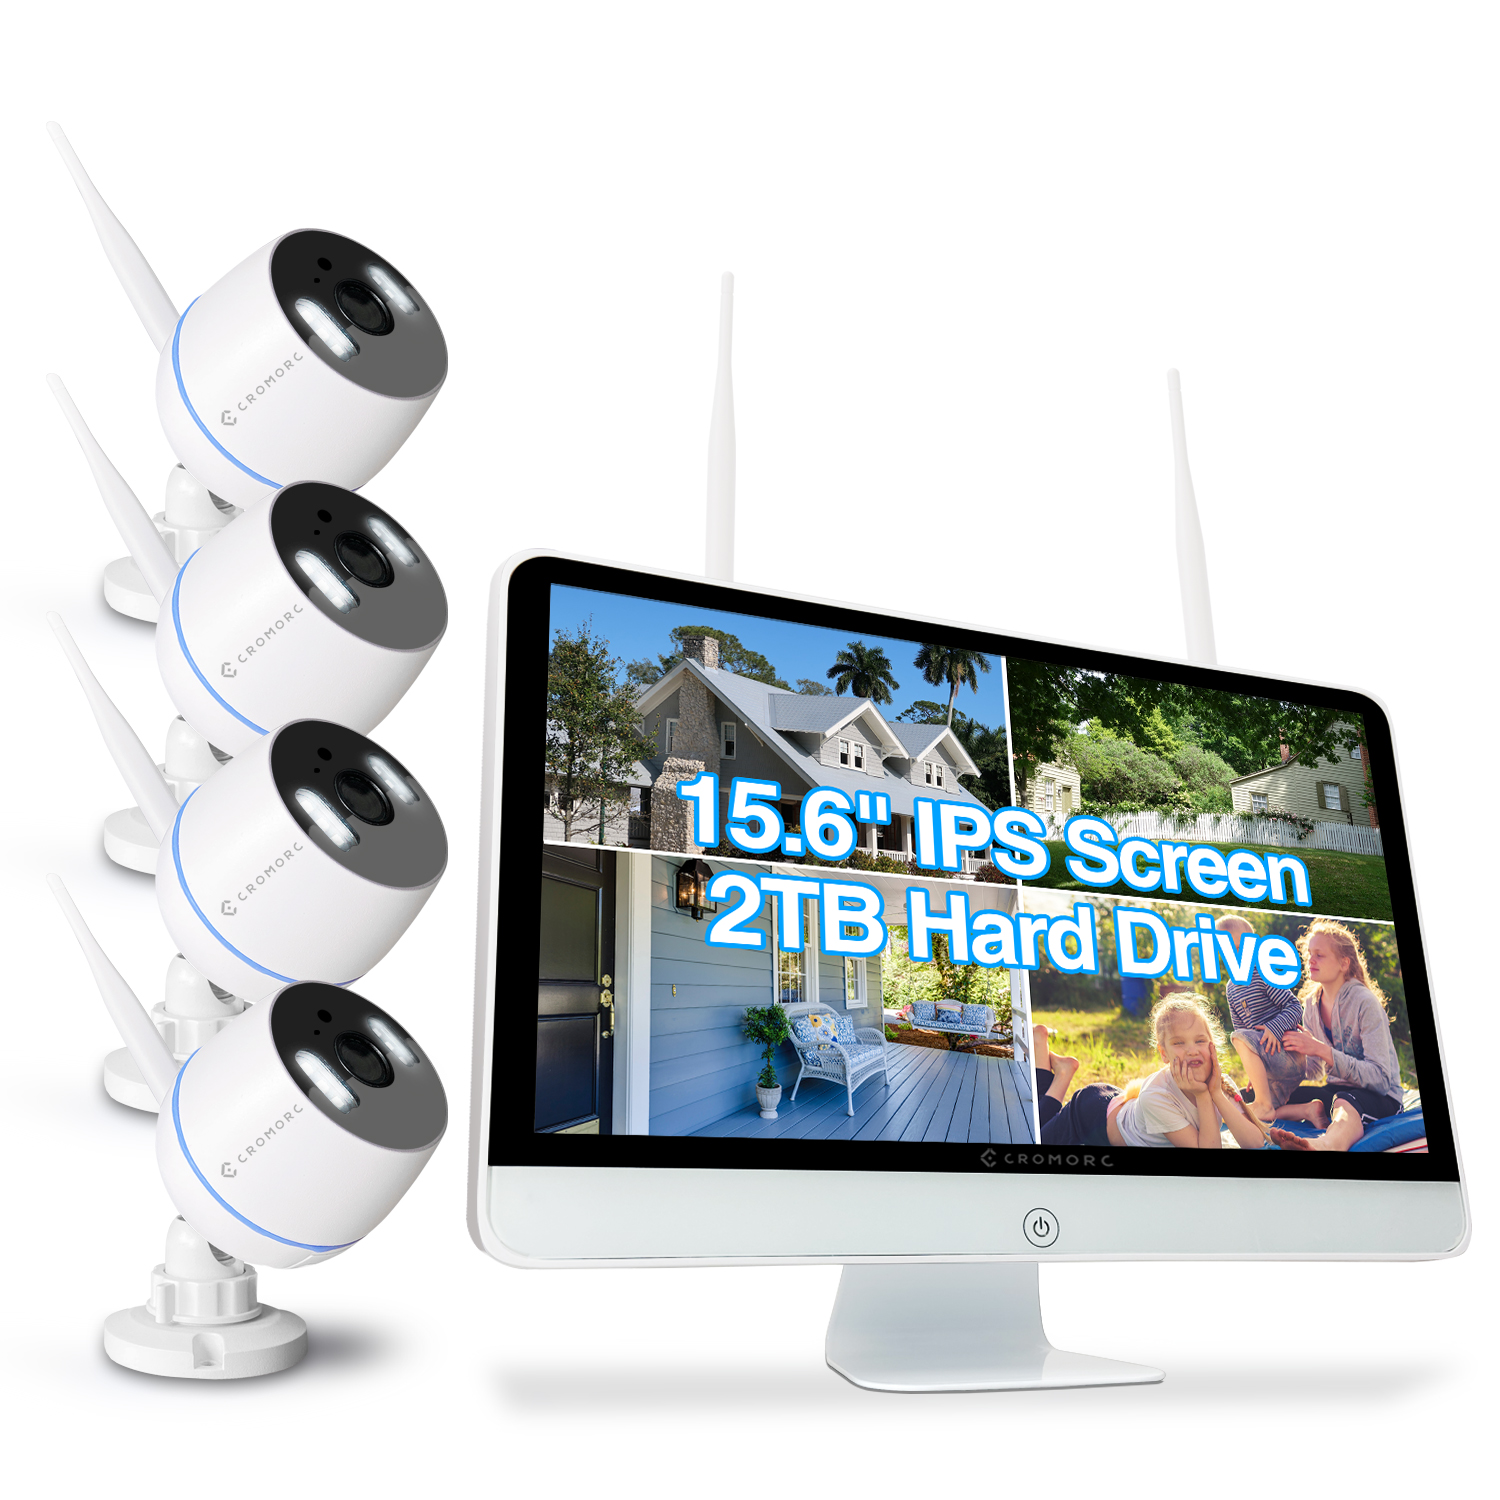 Cromorc All-in-one Wireless Security Camera System with 15.6" IPS Monitor, AI Human Detection, Floodlight,Siren Alarm, 2-Way Audio,4PCS 3MP Camera,Expandable 8CH NVR,Home Business Surveillance,2TB HDD
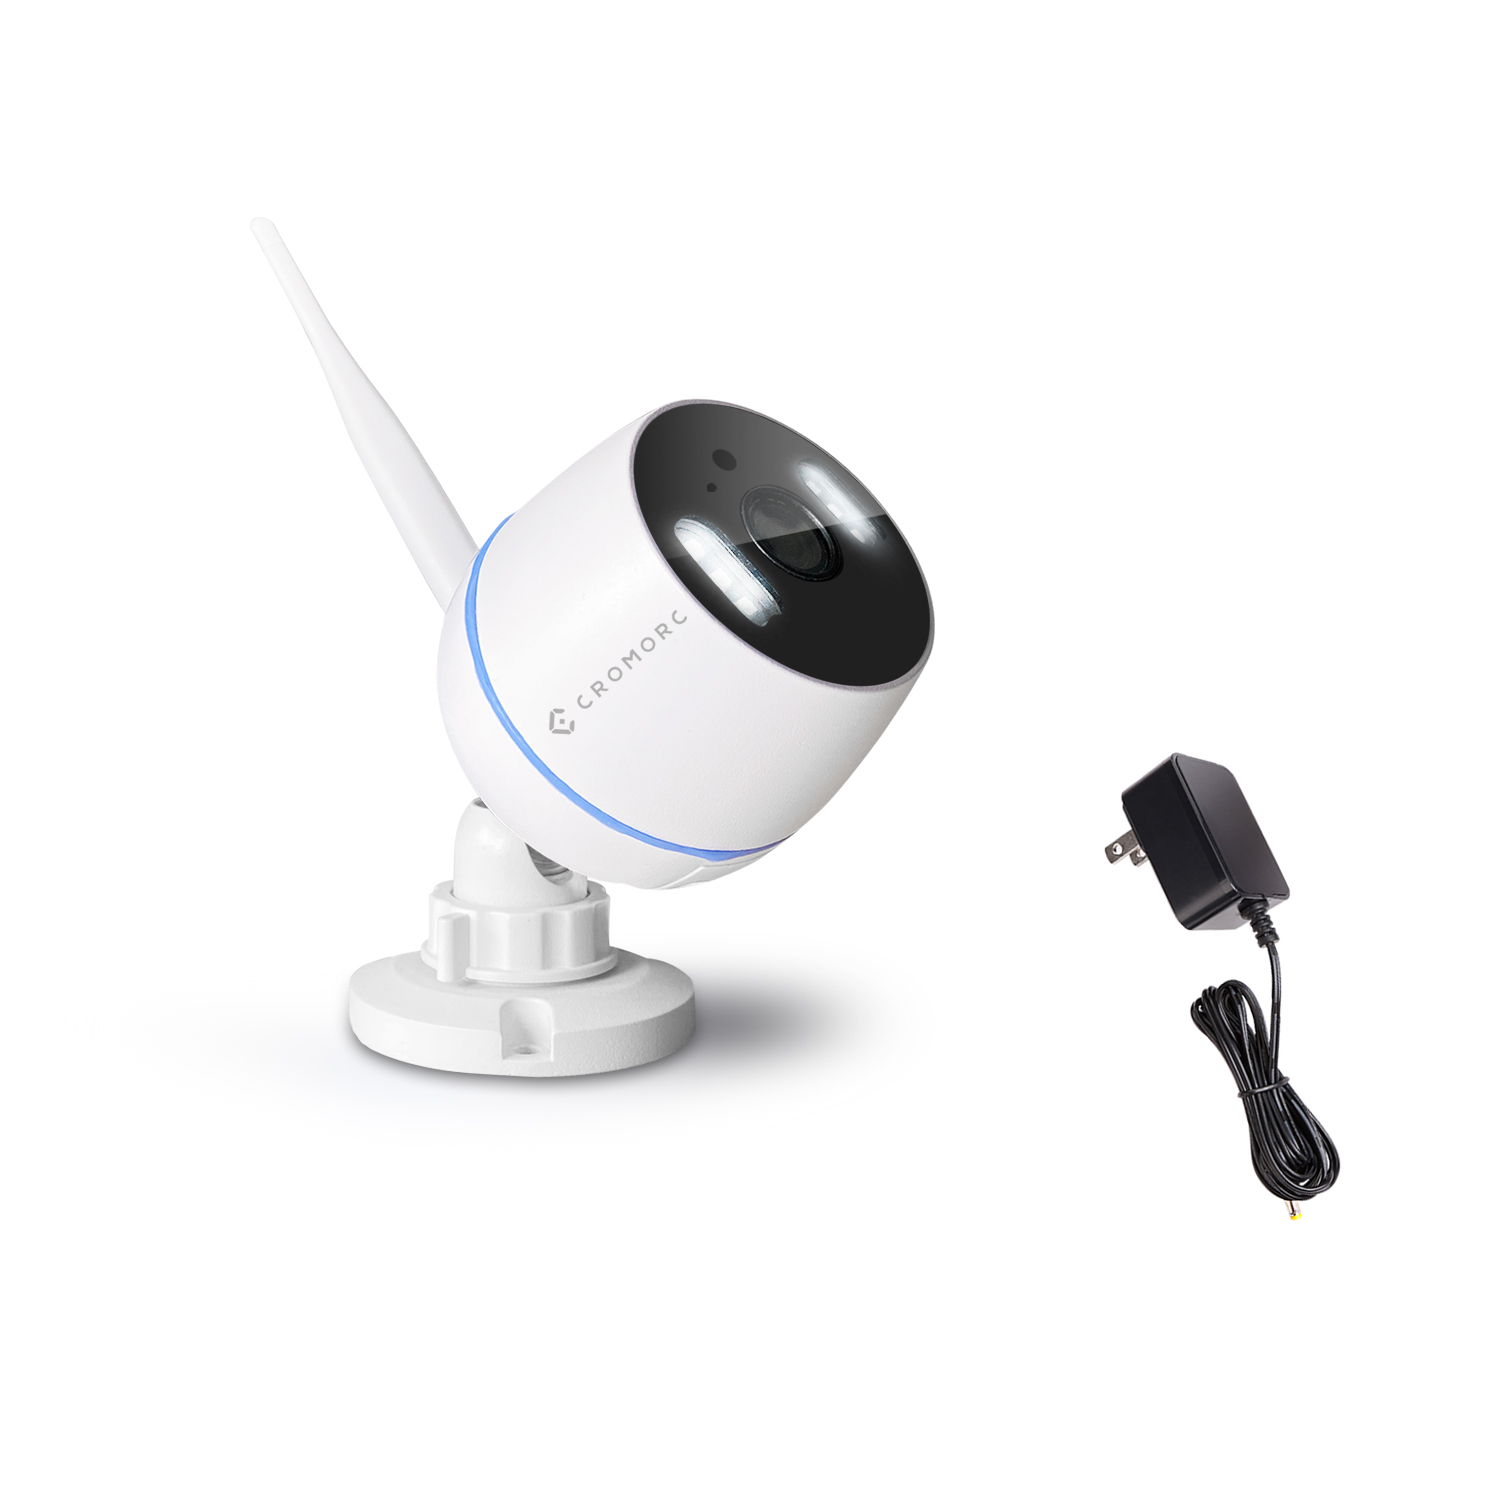
 Cromroc All-in-one Wireless Security Camera System with 12" Monitor, AI Human Detection, Floodlight,Siren Alarm, 2-Way Audio, 4PCS 3MP Camera, Expandable 8CH NVR,Home Business Surveillance, 1TB HDD
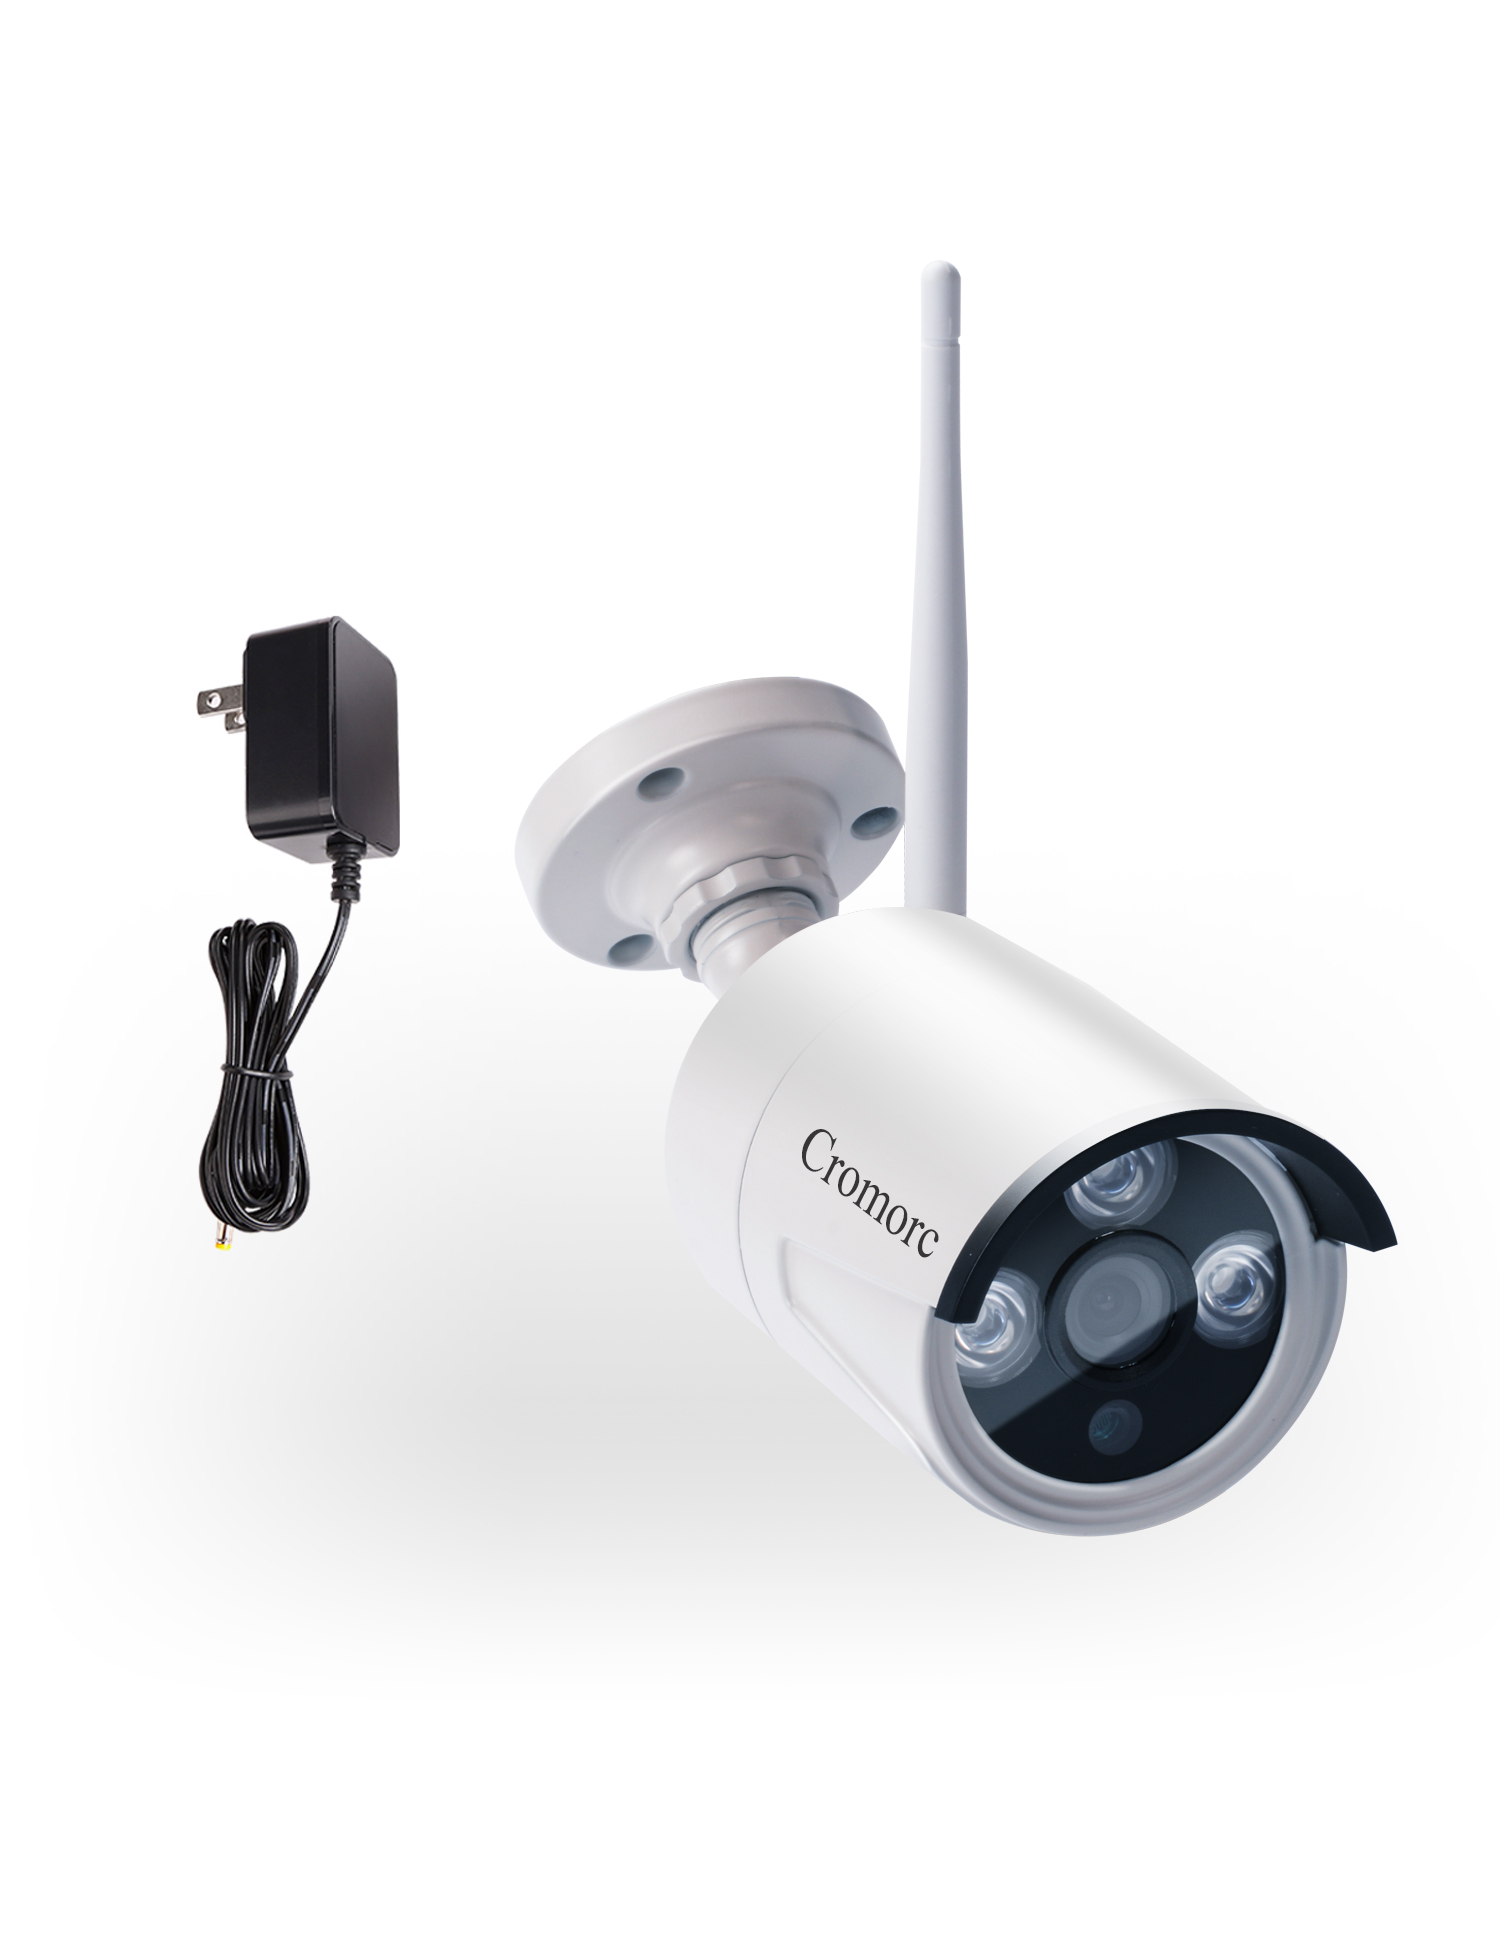
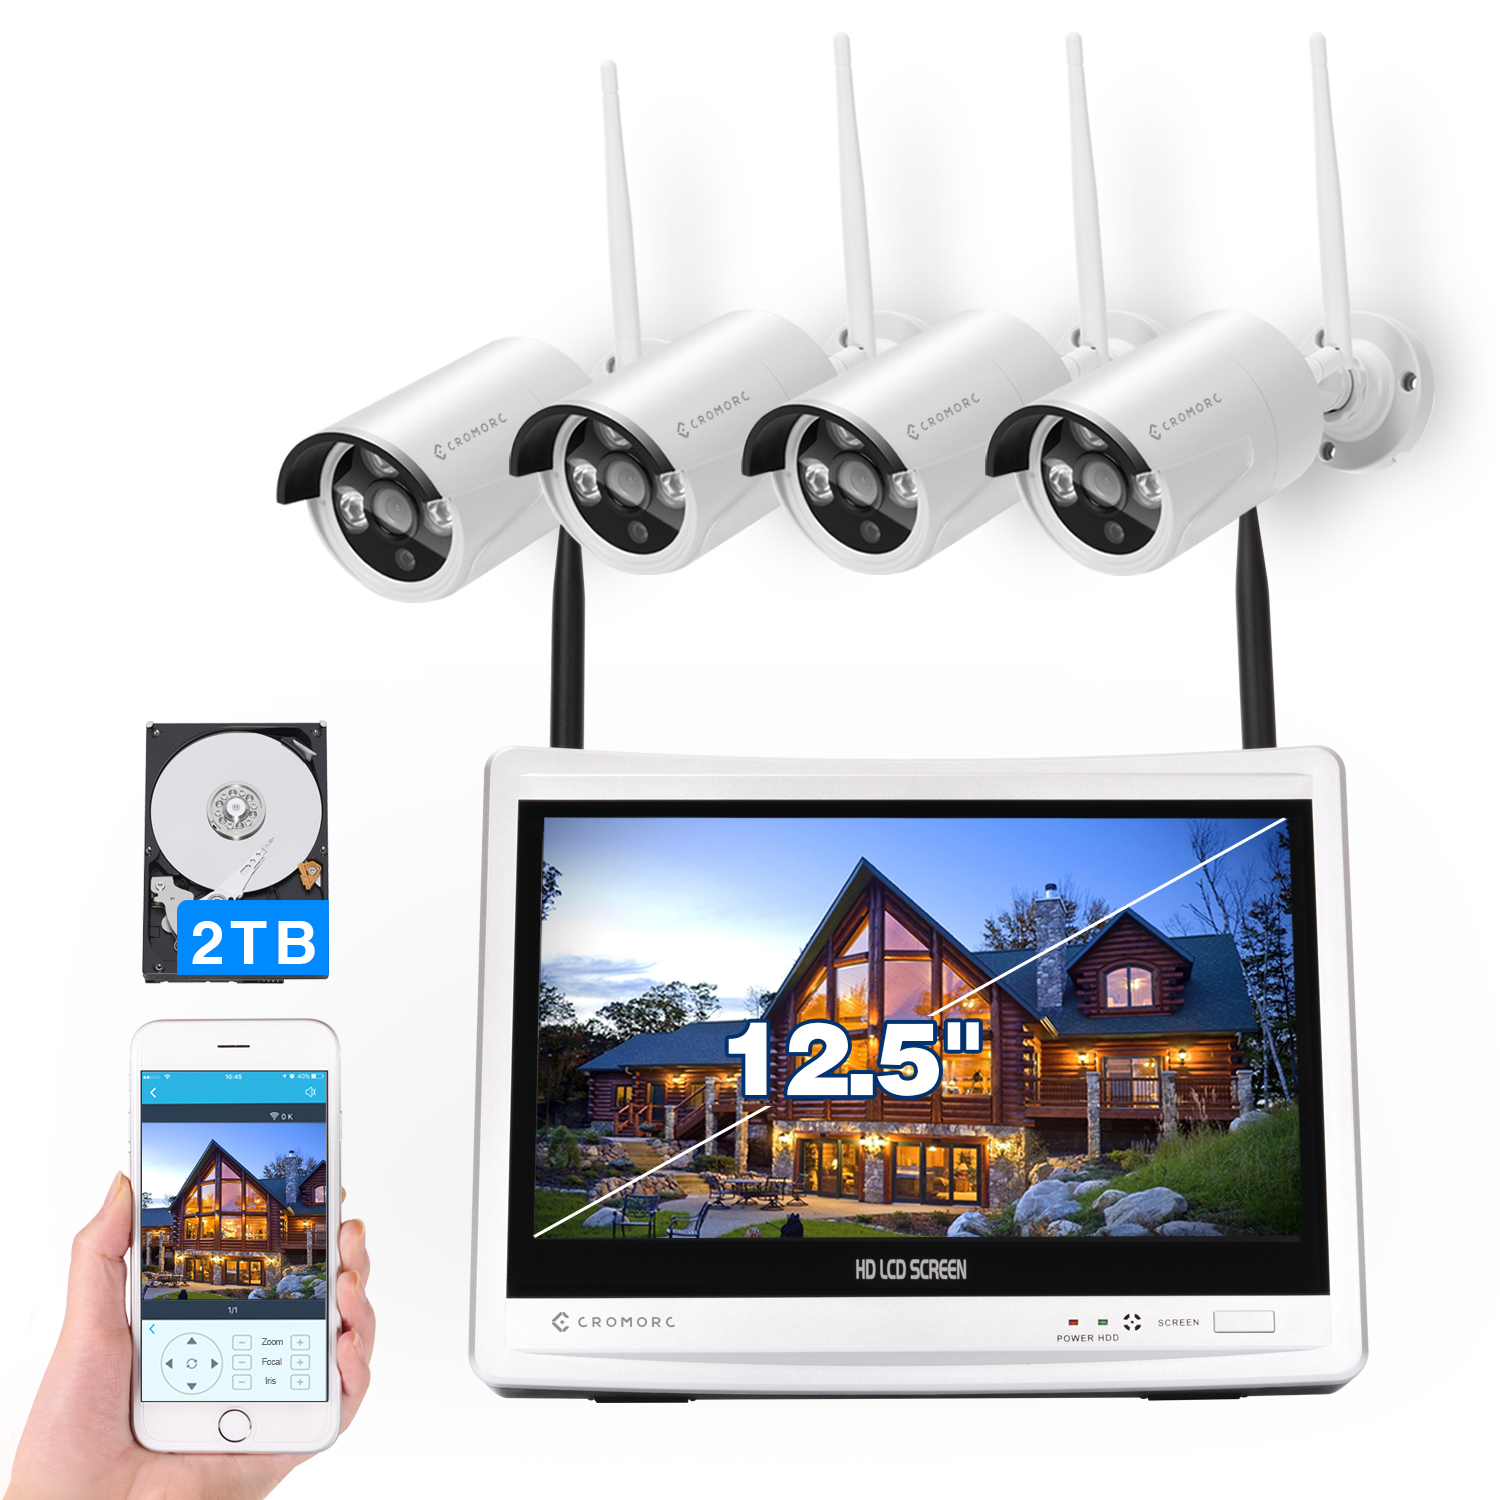 Wireless Security Camera System 12.5" Monitor,Home Business Surveillance Expandable 10CH NVR,4pcs 5MP Outdoor Indoor Night Vision 1-Way Audio Camera,Human Detection 3TB HDD