6. How to talk with the caemra on NVR?
The NVR has a built-in loudspeaker and microphone, you can listen to the live audio or the recorded audio of a camera, and can talk with the person in front of the camera on NVR.
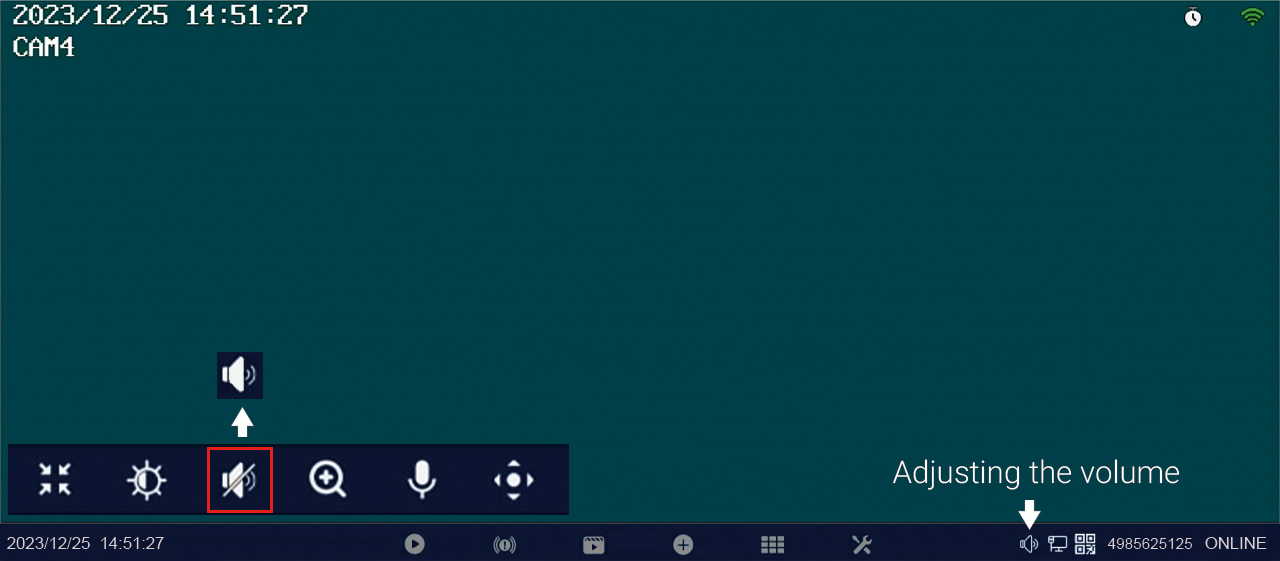
Listen to the live audio of a camera
Left click the “sound” icon to turn on the audio in the lower left corner of the corresponding camera image. Then you will hear the sound from the camera.
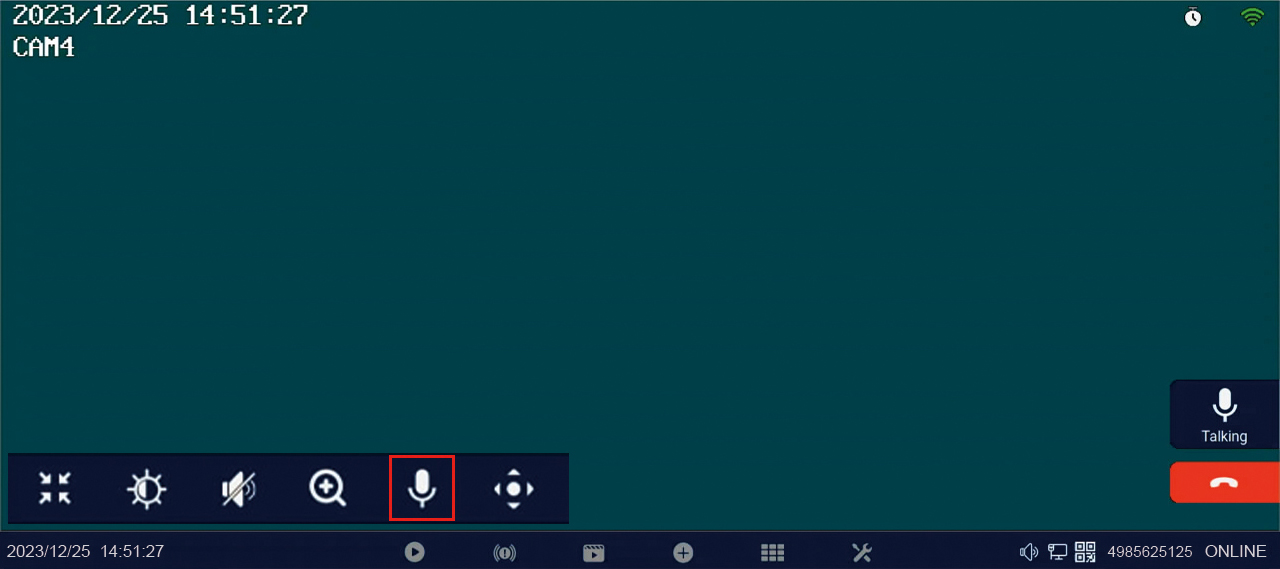
Talk with the camera on NVR
Note: A/D/E model NVR no built-in microphone, so it can’t talk with camera on NVR. Only B model NVR supports talking with camera on NVR.
1. Left click the “Microphone” icon in the lower left corner of the corresponding camera image to enter Talking interface. Then you can talk with the camera.
2. Left click “Hang up” button after finishing the conversation.
Tips:
1. All cameras’ audio can be turned off at the same time, but only one camera’ audio can be turned on at a time.
2. It is commended to turn off the cameras’ audio which close to the NVR, otherwise the NVR speaker may have noise due to interference.
3. If you need to adjust the volume of the audio output, left click on the sound icon in the bottom right corner of the screen, then adjust the volume slider to adjust the volume level.

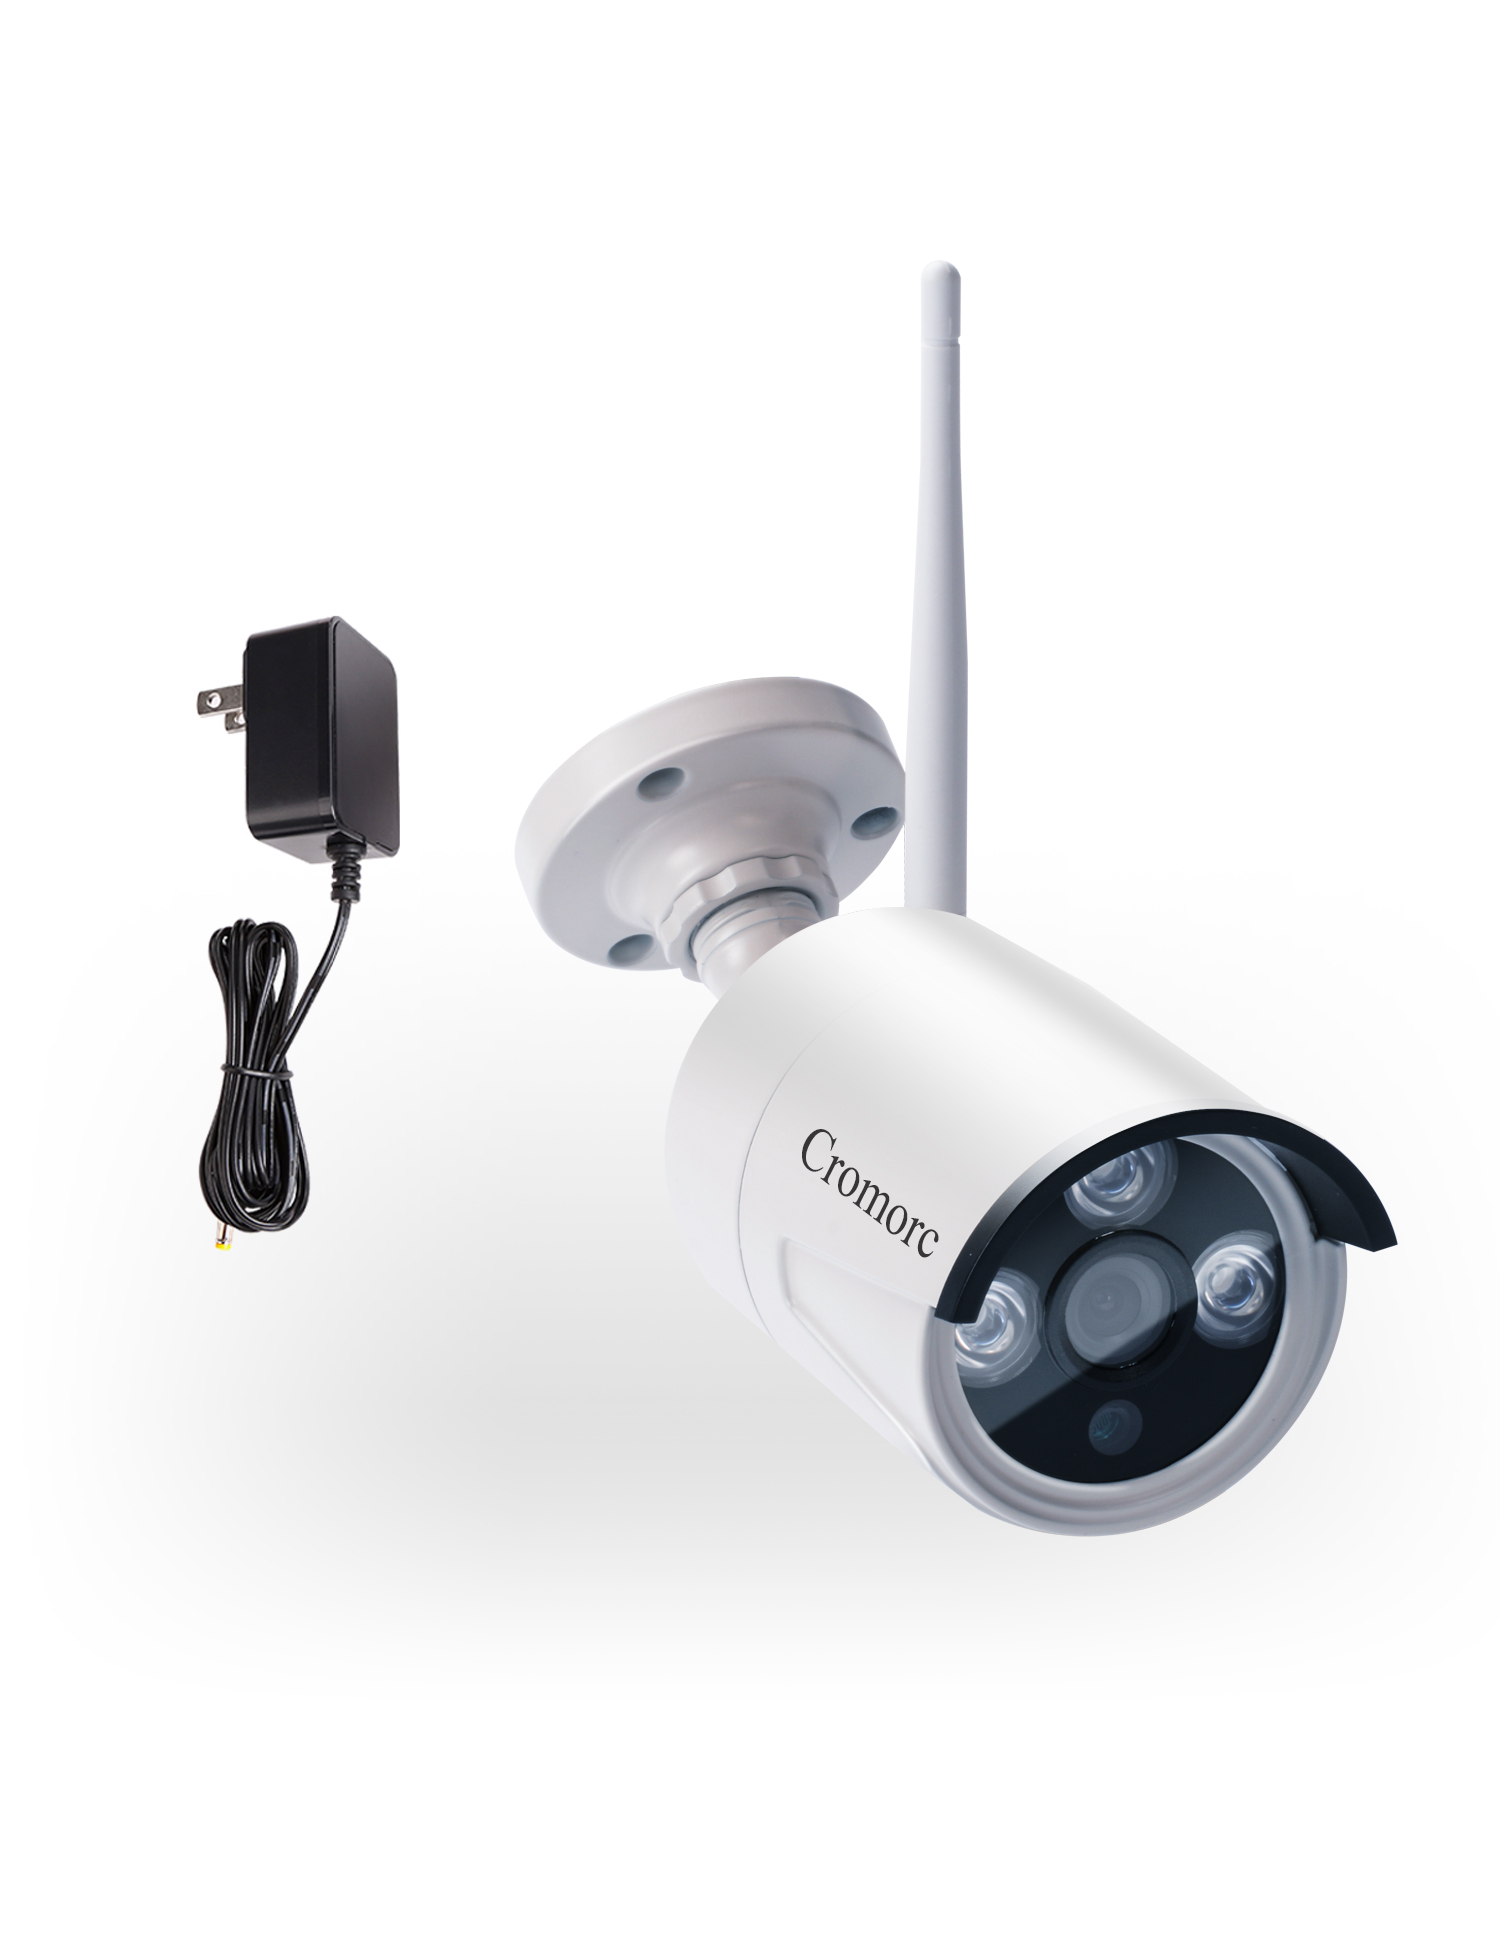
![[8CH,Expandable] All in one with 10.1](/uploads/image/3E2-2-01.jpg) [8CH,Expandable] All in one with 10.1" Monitor Wireless Security Camera System, Cromorc Home Business CCTV Surveillance 1080P NVR, 4pcs 3MP Indoor Outdoor Night Vision One-Way Audio Camera,1TB HDD
[8CH,Expandable] All in one with 10.1" Monitor Wireless Security Camera System, Cromorc Home Business CCTV Surveillance 1080P NVR, 4pcs 3MP Indoor Outdoor Night Vision One-Way Audio Camera,1TB HDD
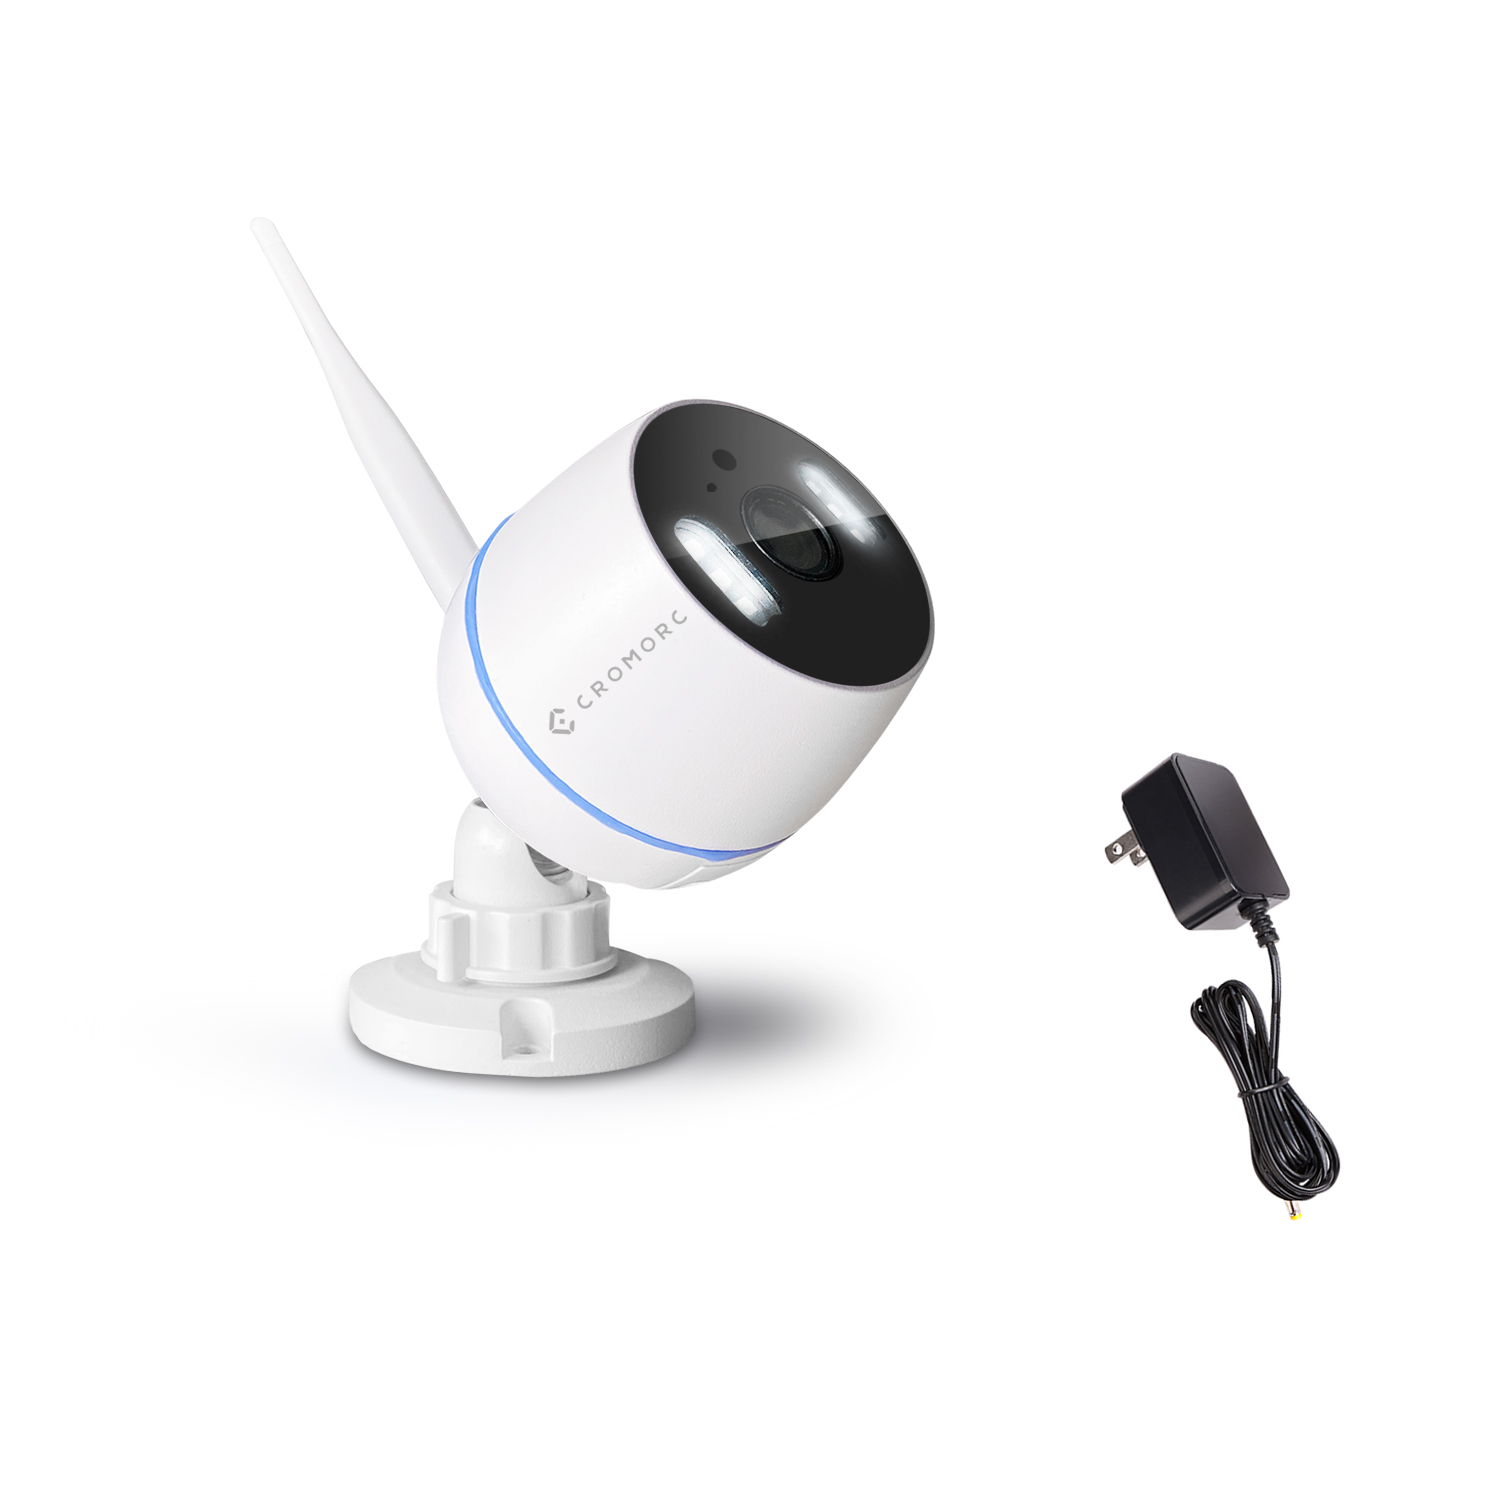
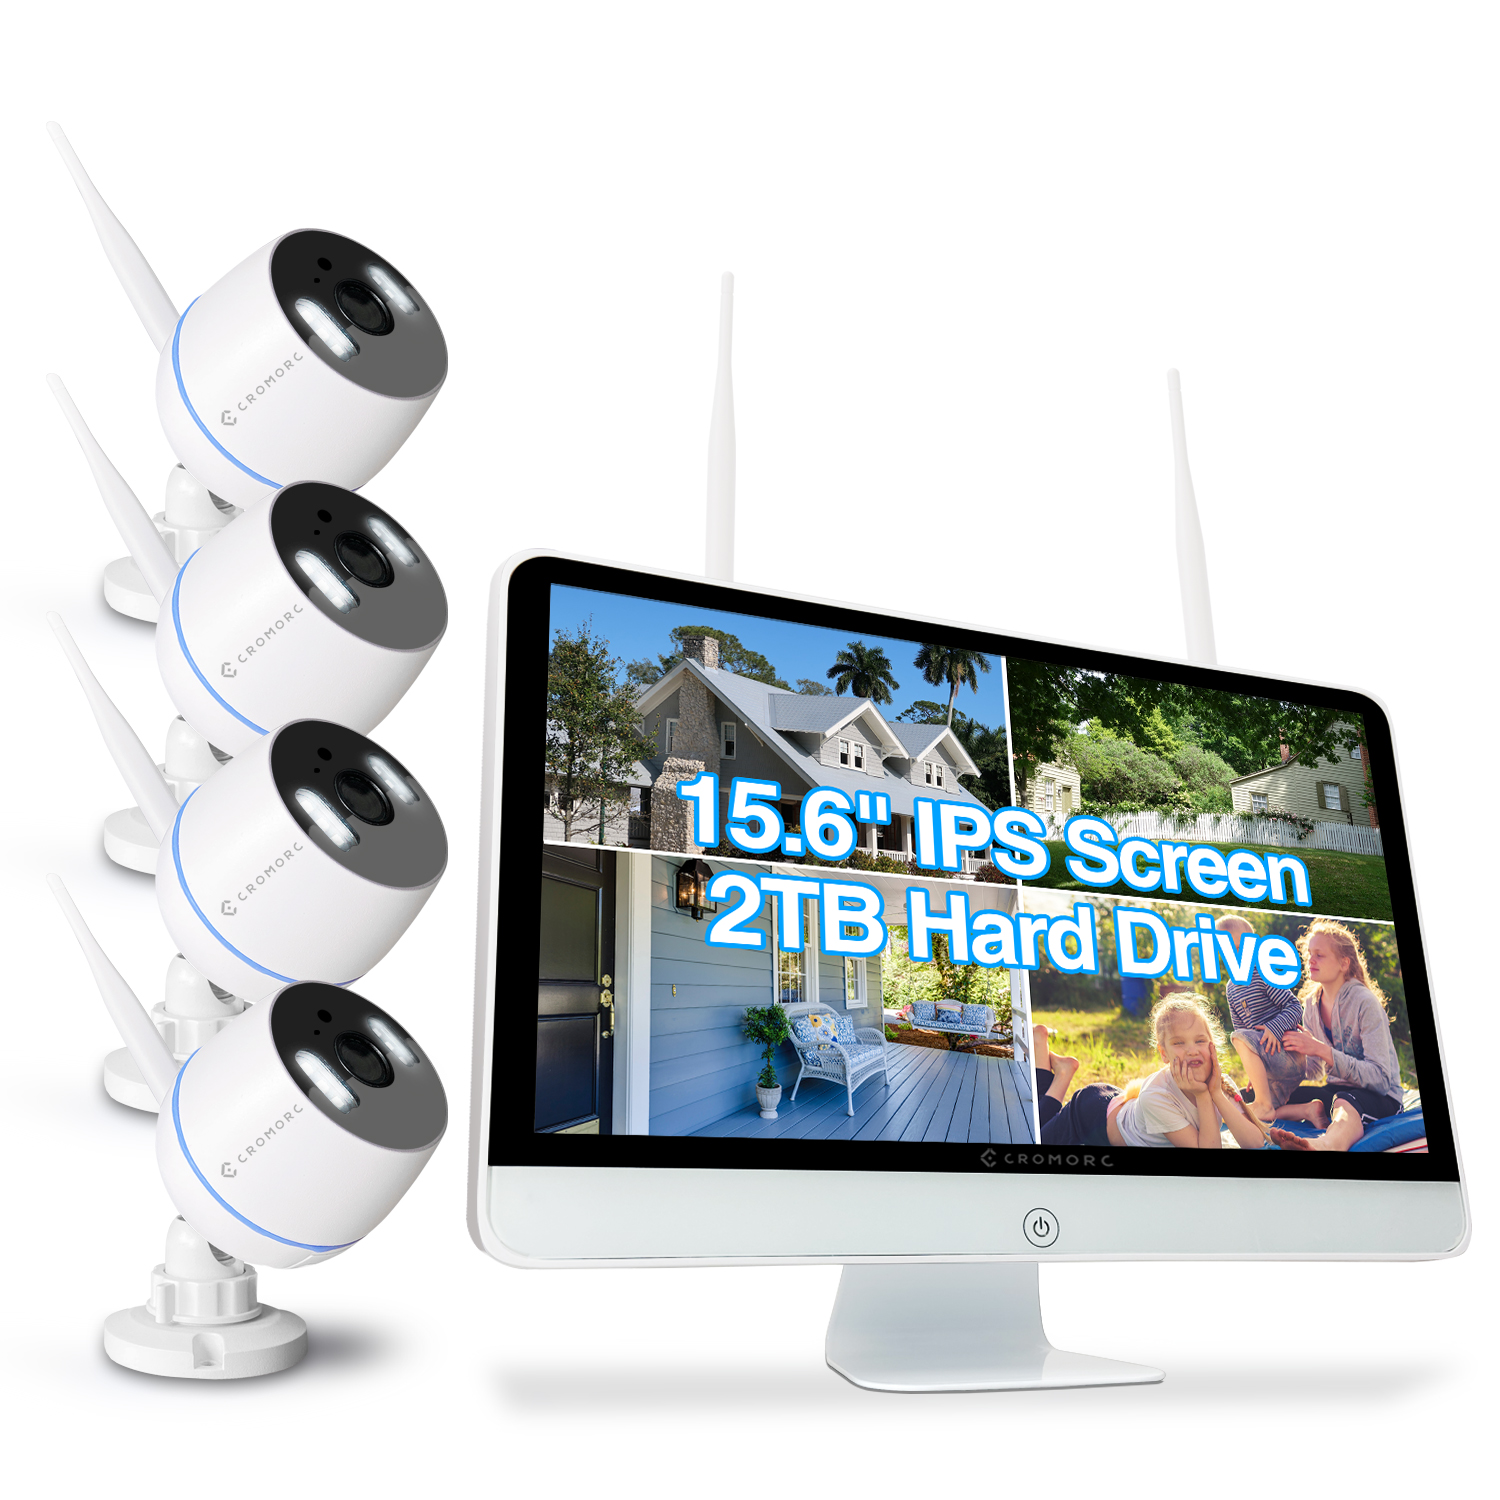 Cromorc All-in-one Wireless Security Camera System with 15.6" IPS Monitor, AI Human Detection, Floodlight,Siren Alarm, 2-Way Audio,4PCS 3MP Camera,Expandable 8CH NVR,Home Business Surveillance,2TB HDD
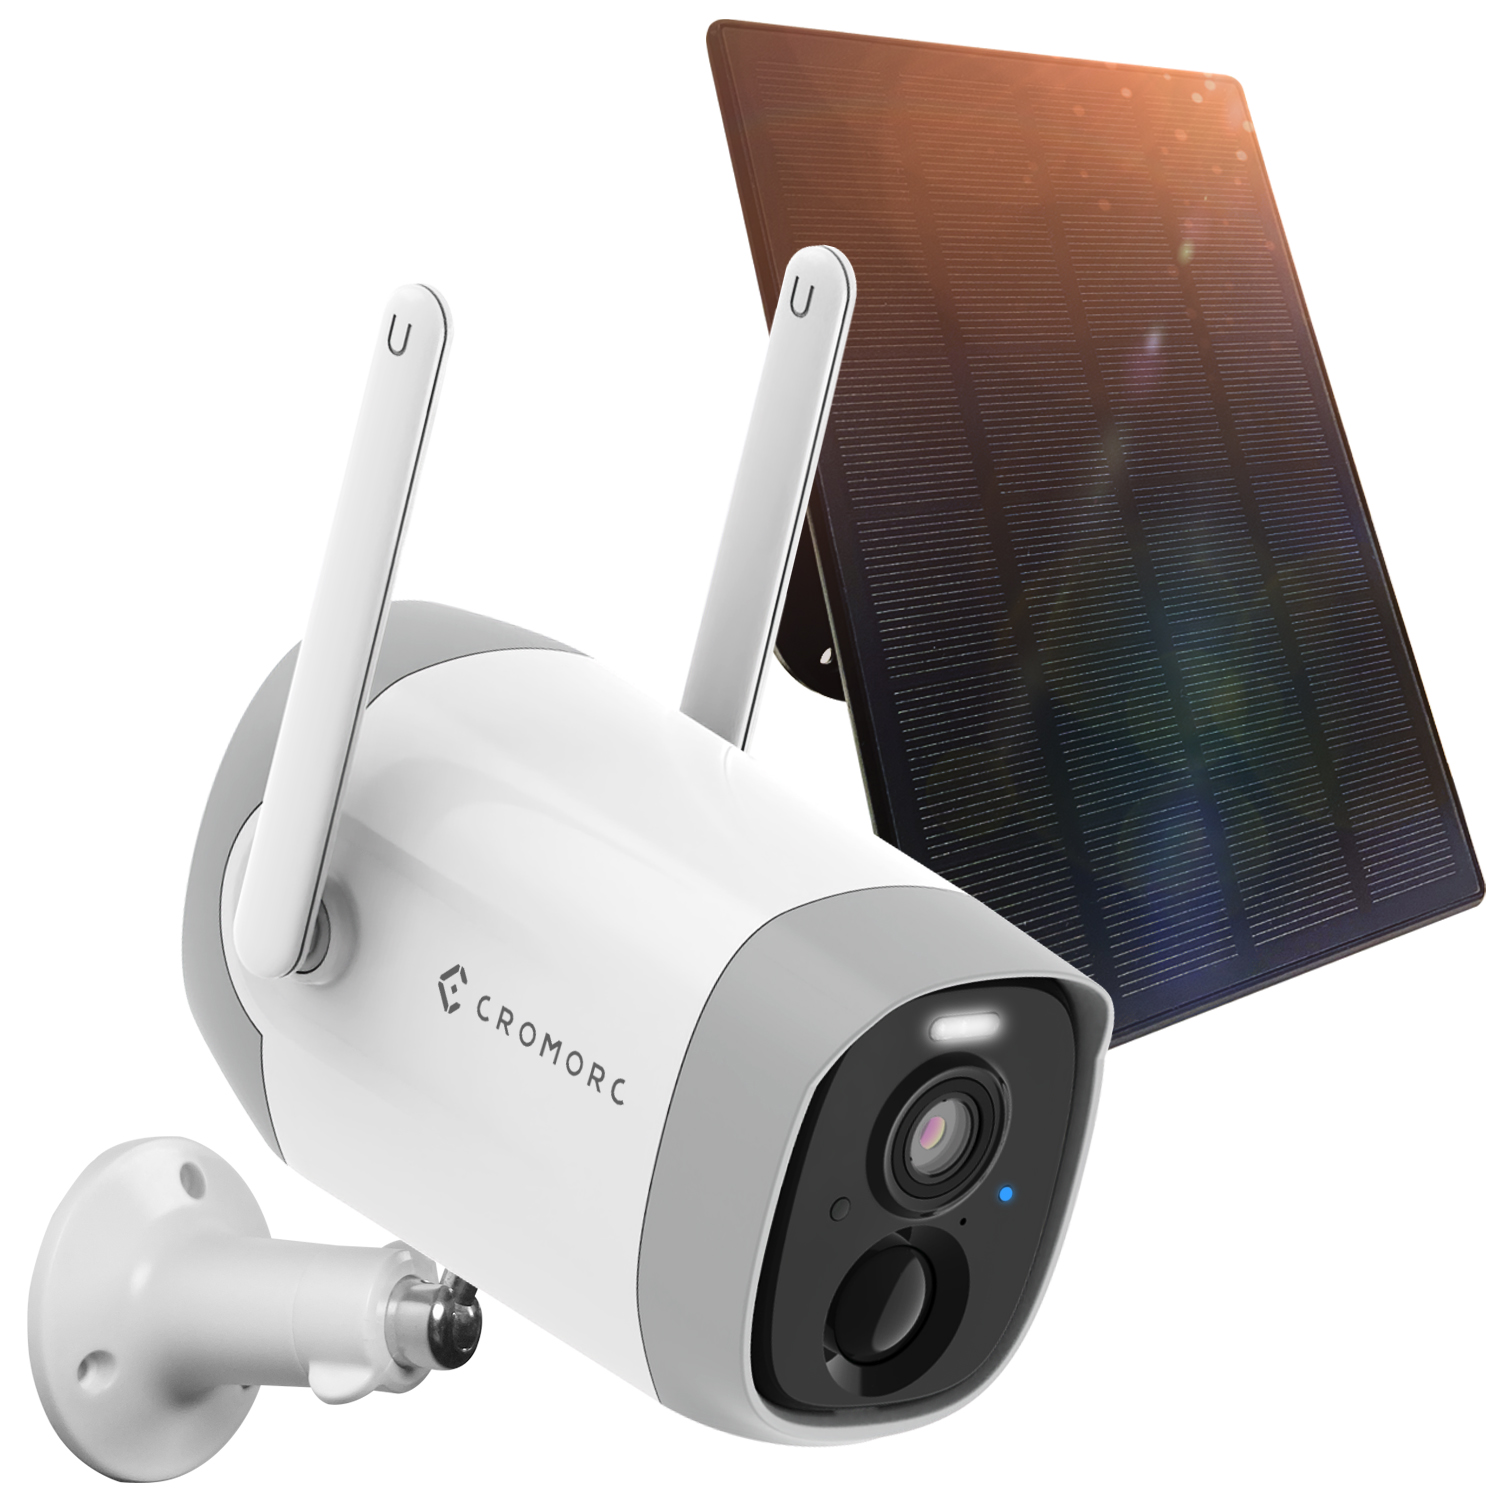
 Cromroc All-in-one Wireless Security Camera System with 12" Monitor, AI Human Detection, Floodlight,Siren Alarm, 2-Way Audio, 4PCS 3MP Camera, Expandable 8CH NVR,Home Business Surveillance, 1TB HDD
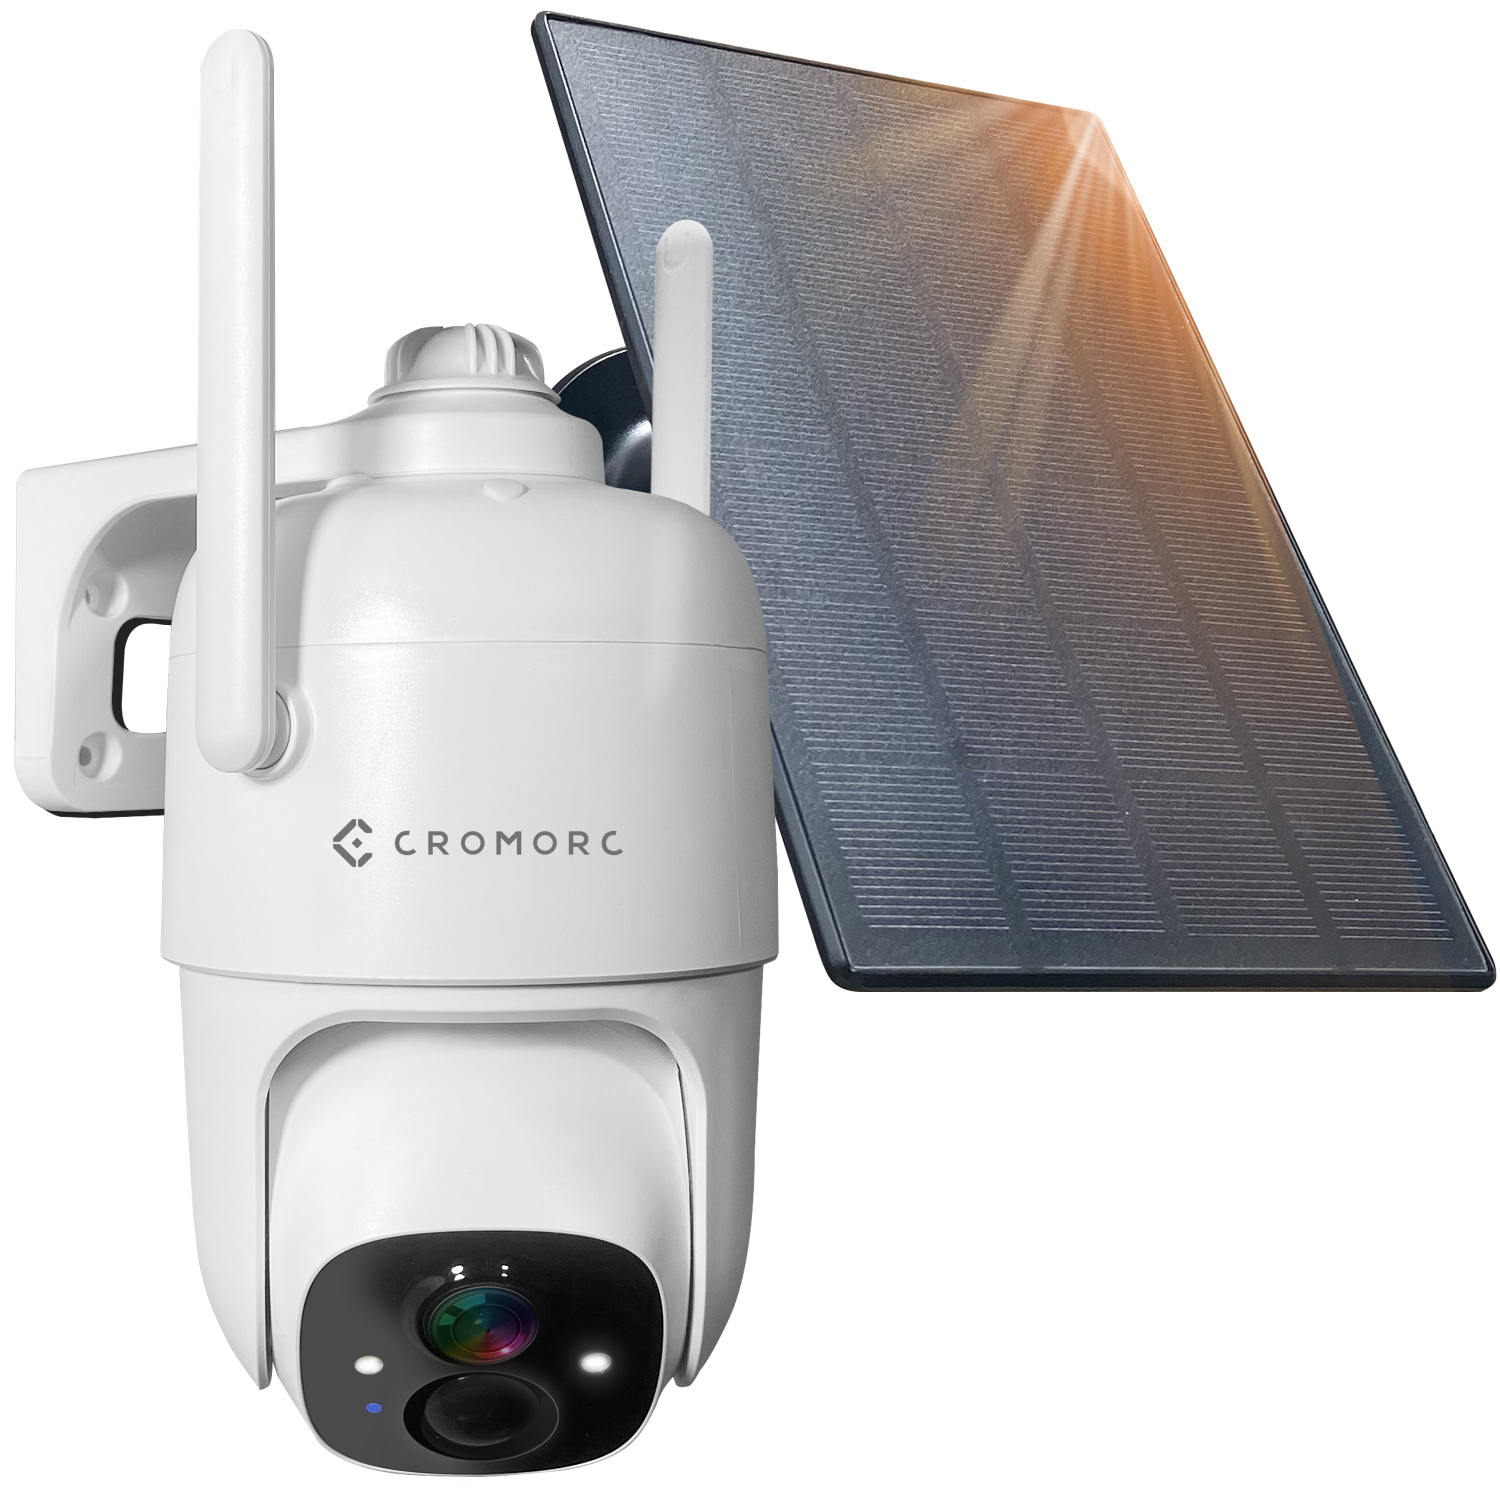
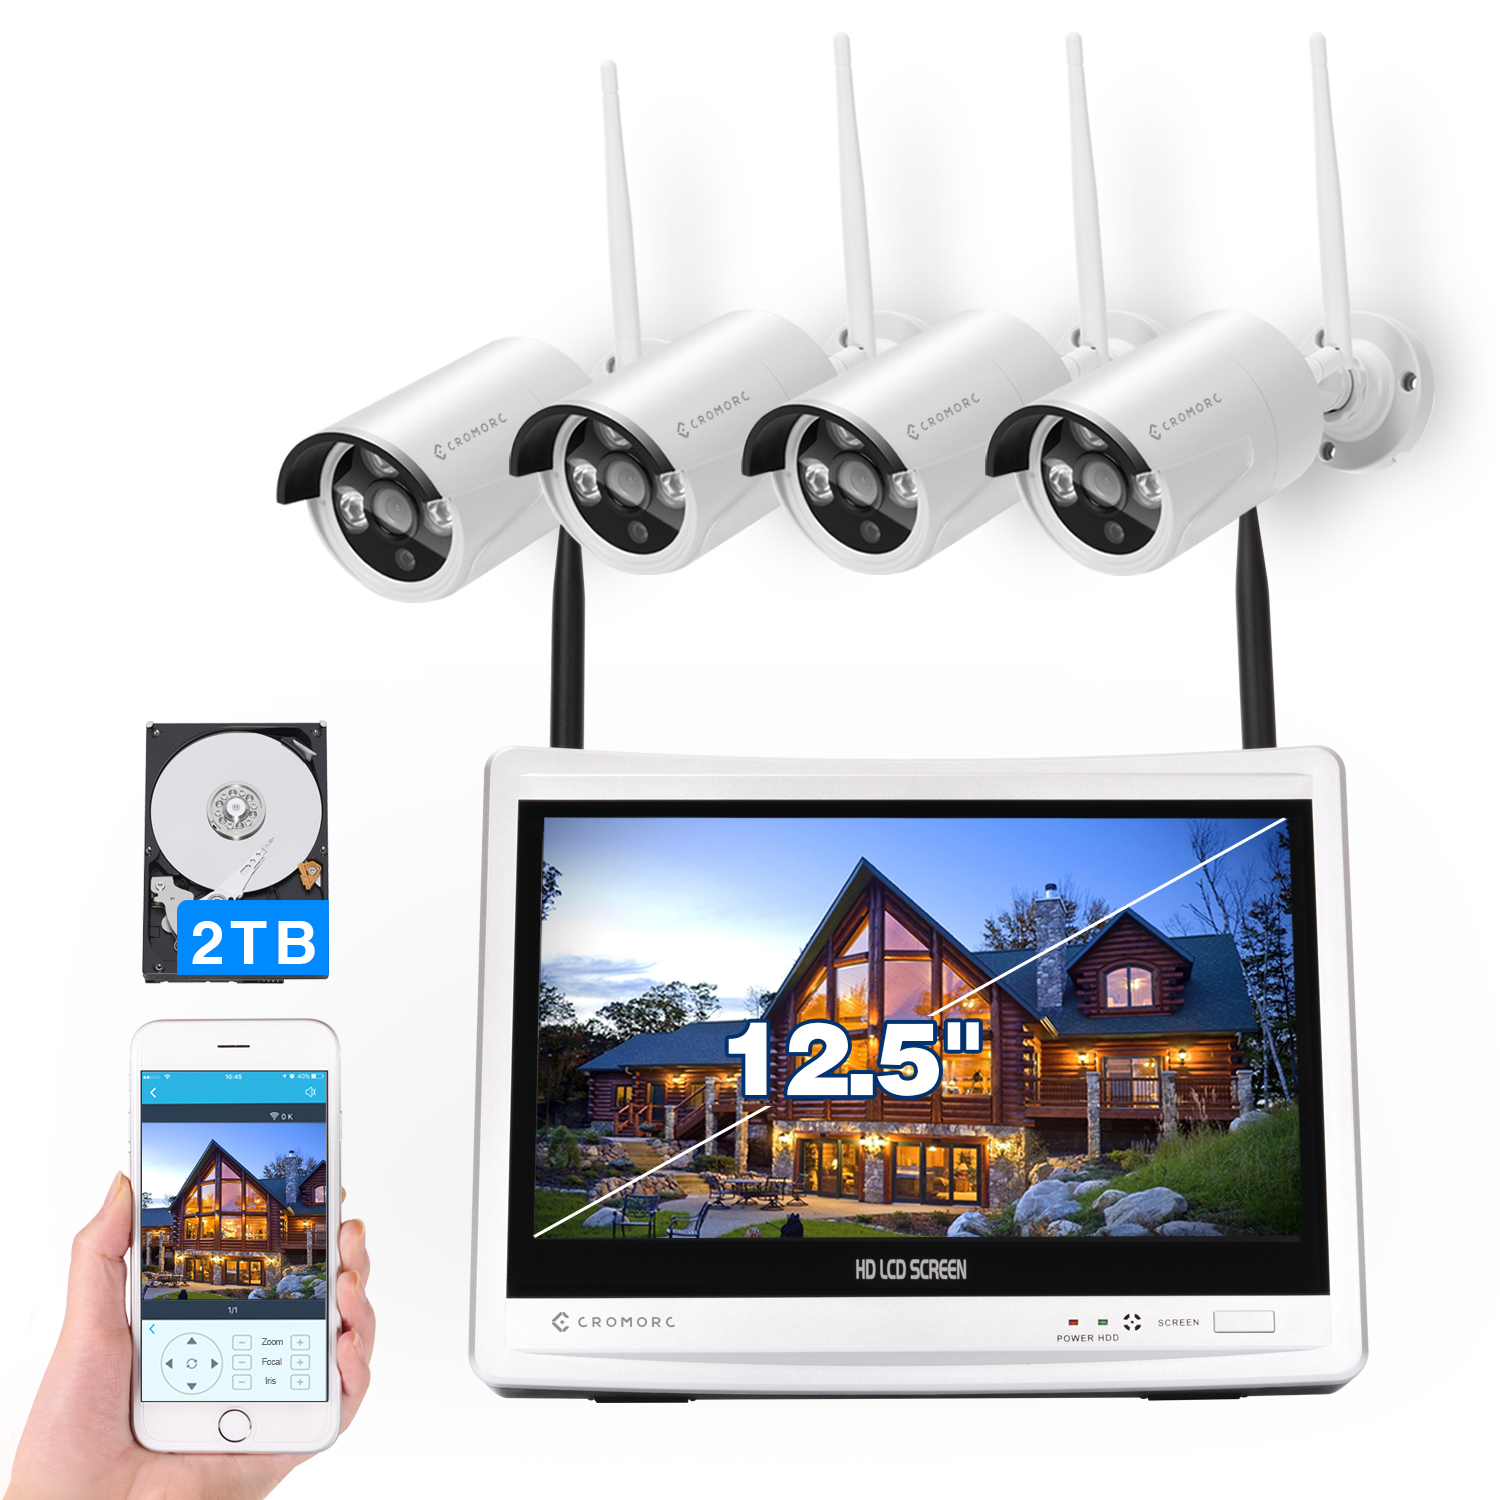 Cromorc All in one with 12.5" Monitor Wireless Security Camera System,Home Business CCTV Surveillance Expandable 8CH NVR,4pcs 3MP Outdoor Indoor Night Vision 1-Way Audio Camera,Human Detection 2TB HDD